Guide developed and supervised by: Volco (Steam)
Last Update: July 18th 2026
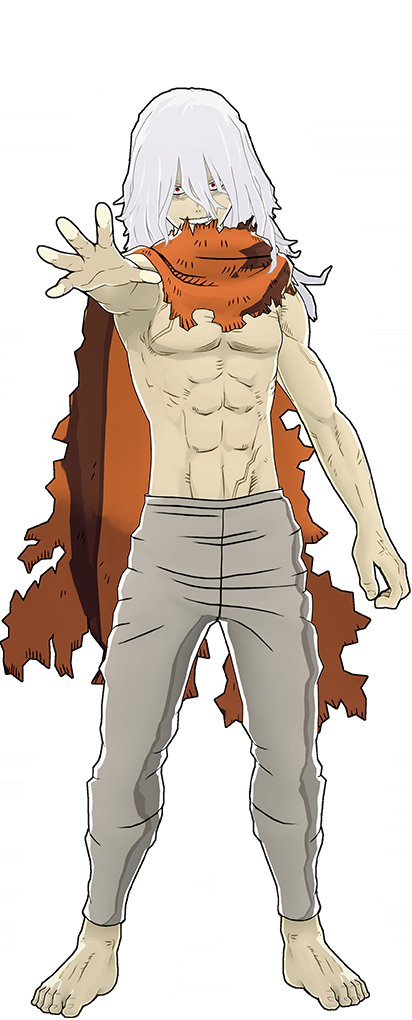
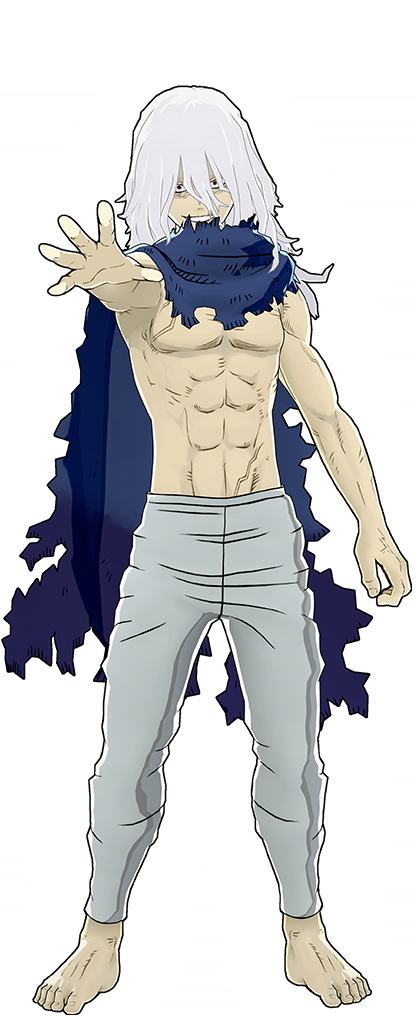
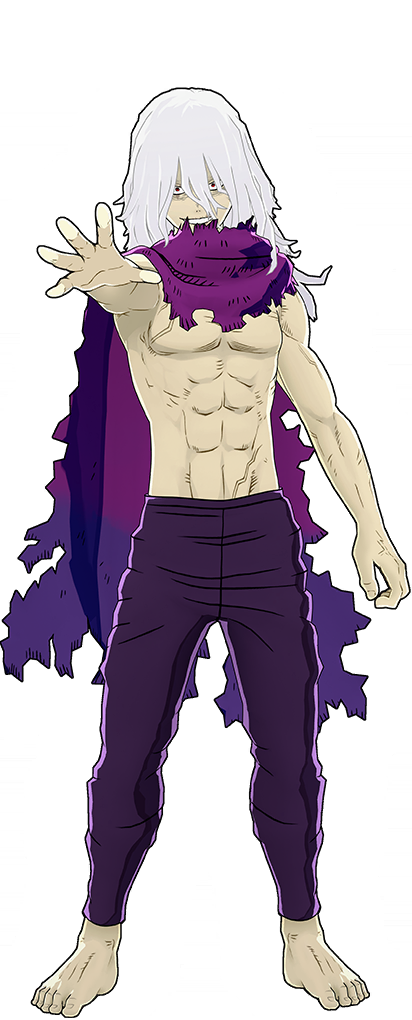
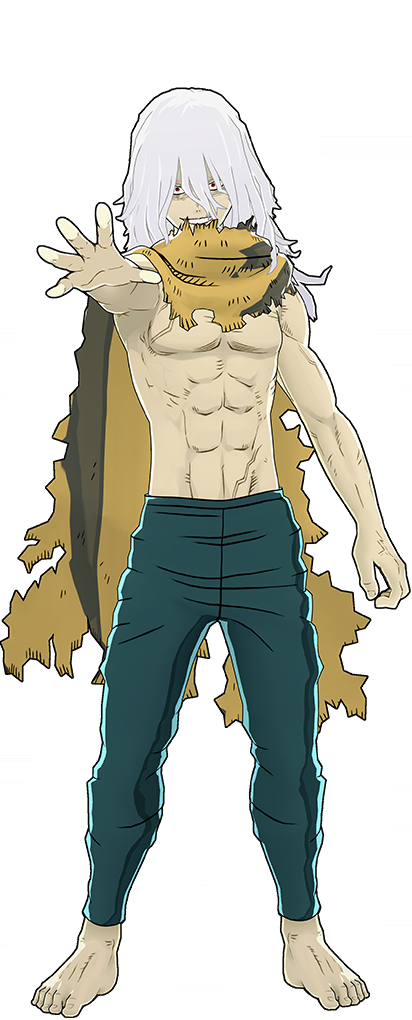
Tomura Shigaraki (Catastrophe) is a wake up catching combo character that excels in creating or extending combos for his team. He can do this by hitting a raw combo starter or by calling out the opponent's wake ups with one of them. He can struggle to deal with air sitters but gamma's drag down as well as alpha and beta's projectile sizes can make them a bit easier to deal with. He can struggle to run away sometimes because his combos include gamma, so he often will have limited or no movement if he goes for them. Indoors and outdoors are both good for him but indoors works better since it is harder to get away from him and he is less likely to get third partied. Most of the time wants to stick with his team since they can help alleviate the lowered mobility options after a combo or wake up call out. Staying with his team can also let him be a combo extender for them due to the downpower of his gamma dash not being too high or let him make his team more threatening by hitting a special action to inflict a 20% debuff to the opponent.
Best Map: UA Island/Neo City Academia


Alpha Skill - Earth Break
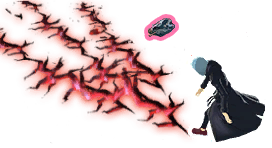
This ability has a solid fire rate while spreading into a fan shape to cover a good amount of space. Due both the fan shape and large projectile his alpha is really good for kiting since you don't need to be as precise as if you were on a beamer character. This is your main damage tool when you aren't doing a combo or wake up call outs, since you have 5 of them and they recharge really quickly. Do not mash all of them instantly unless you are just trying to instantly frag down a low target, if you wait just a slight bit between alphas, usually the time it takes to do dash jump alphas you effectively have infinite alphas at maximum level.
The alpha covers a deceptive amount of range away from you due to flying in a nearly straight line. If someone's jumping to avoid the alpha's fans you can follow the way they're moving to catch their landing with another alpha so they get hit or just throw the projectile at them. The biggest downside about this ability is that due to the spread being a multi-hit it's inconsistent on its damage, but the solid fire rate and fast recharge does allow it to make up for that a bit. You can also use it from high ground to cover a wide area safely without getting yourself into the fight on the ground.
Due to the fact you can only land either the debris or the spread when using alpha in combos it is usually often better to just land the debris since it does 4 less damage with 50 less downpower unless it's a combo that would knockdown regardless of whether you hit the debris or both hits of the spread.
It is also decent to use it to hit airborne opponents when you don't have beta and they aren't in range to get hit by gamma, not the best thing due to the projectile's slow air speed but certainly better than nothing.
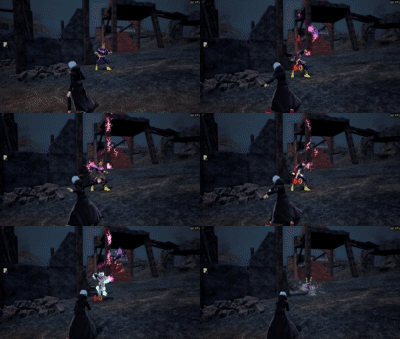
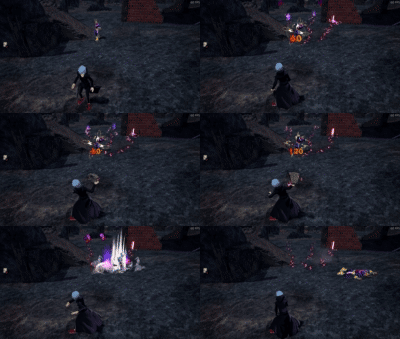
Beta Skill - Grudge Shoot
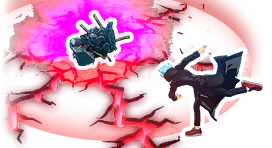
This is Assault Shigaraki's main "get off of me" tool, since it staggers and knocks down after you land two direct betas (debris) or sets up for easy knockdowns when combined with the alpha debris, alpha spread or gamma (shockwave). You can use any of your other abilities to follow up for good damage. The decay area it leaves pulses 5 times after hitting the ground, wall or a ceiling. It is also important to lead your beta when trying to use it from a distance, if you aim at your opponent you will not hit them unless they are moving in a straight line away from you. Most of time you want to predict where they're going to be able to land it. The hitstop effect it has also makes follow ups easier since it gives you some extra time to line yourself up.
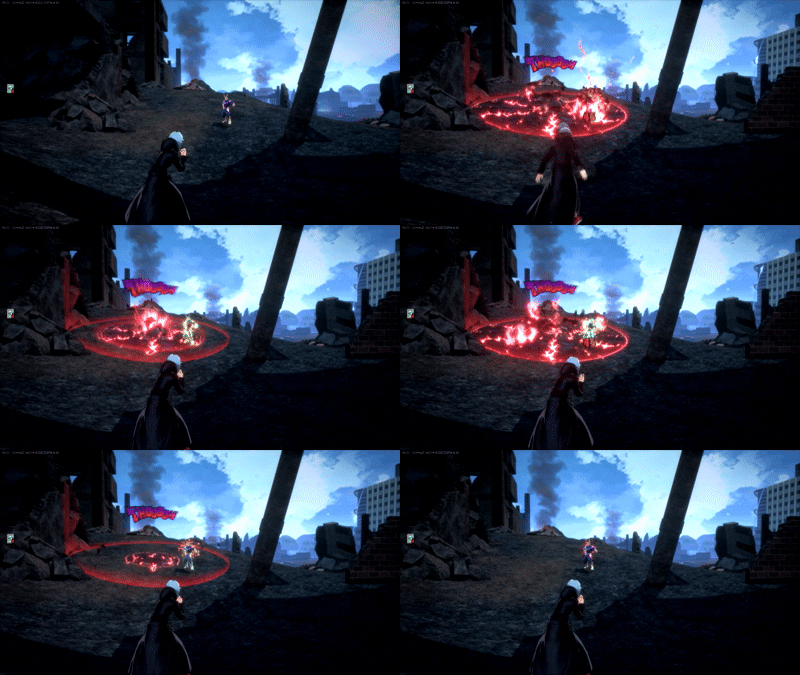
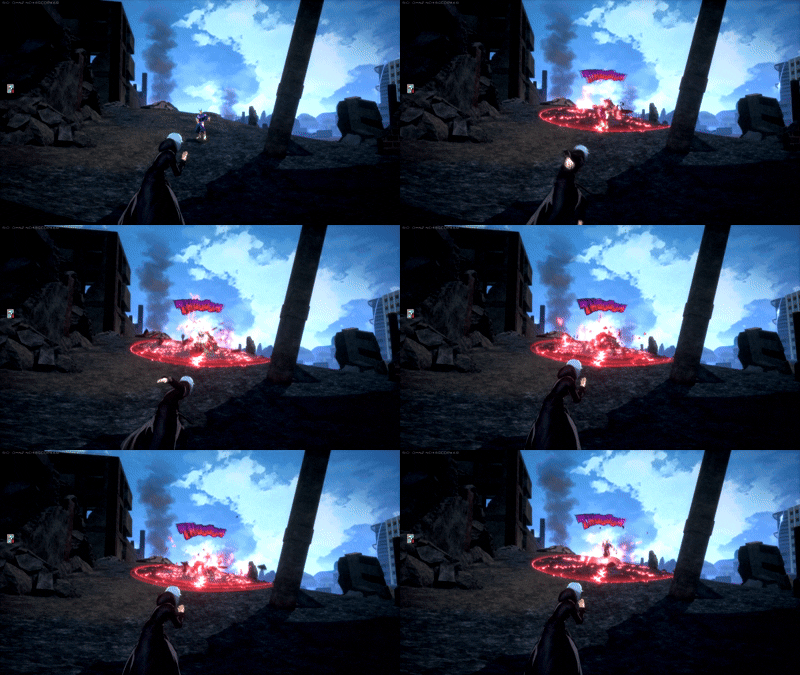
Both the debris and pulses cause the "Decay" DoT (damage over time) effect. The decay from beta lasts for about 10 seconds, during that entire duration anything that would add to the combo meter will stay. For instance the high downpower added by a beta's debris will stay on the opponent for the whole time they have that decay effect damaging them. This is something to keep in mind if you do a combo on someone with only one beta or don't use two beta's debris, it's both a benefit and a detriment to him. On one hand you cannot use beta from a distance then alpha mash and later use beta's debris in a combo later without knocking them down if the decay is still active. On the other you don't need to immediately hit both betas to knock someone down when running from somebody else, you can use the first to stagger them during an armorless movement option then do the other later as they're using another movement option to force knockdown regardless of whether their move is armored or not. You can also use beta to call out your opponent's wake up option from a safer distance however it requires more prediction than just a collapse hand or gamma.
Beta pulses are actually pretty mid on their own, if someone knows the timing they can just dodge each pulse while sitting directly in it. Where the pulses are really good aside from during stun combos is when you know someone's sitting near a wall or are on a floor directly above you, since you can throw it to where they are and get tiny bits of damage, as well as apply decay and interrupt their healing animation, box opening or teammate pick up they might have been doing.
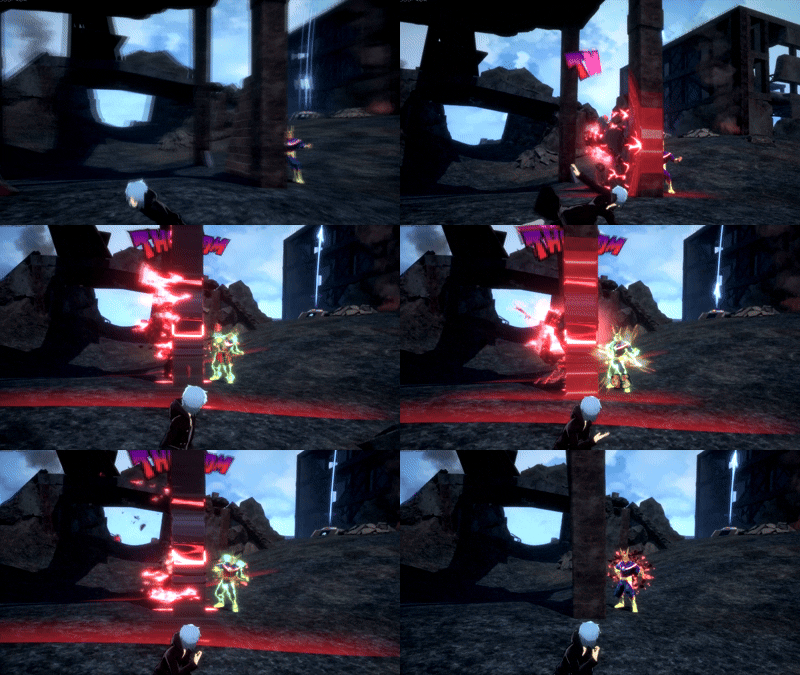
If your beta is at maximum level, one beta debris + two alphas will kill any downed target without the need to use extra skills, so if the enemy team does not have an instant resurrection character, you can just throw two alphas and throw a beta debris at a body to get rid of them.
The beta also initially spawns behind Shigaraki due to where his hand is during the animation, so this is important to keep in mind during solo or team combos where you're extremely close to the opponent and they have already taken over 250 downpower, so that way you can avoid accidentally hitting them with the beta as it spawns. If you are close and already hit a beta debris, try to position your camera in a way where the beta won't spawn directly on them and won't hit them before it reaches the floor near them.
Beta's endlag can be canceled by rolling which due to the hitstop from hitting the debris the invulnerability frames from rolling can be extended. The roll cancel also lets you throw out a hitbox safely while getting iframes as you chuck the brick. When the debris hits someone you can also cancel beta's endlag with a gamma, melee or special action for faster follow-ups.
Gamma Skill - Catastrophe
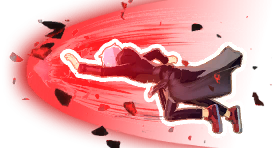
Gamma is an ability split in three parts: Firstly the dash, then the flip and finally the shockwave. The decay from gamma functions exactly the same as beta's, both the dash and the shockwave give the effect. The dash is a solid combo extender for team combos since it has slightly more downpower than a melee for more damage and DoT than a melee. The flip drags opponents down to the floor and puts them in bounce knockback. The shockwave has high downpower but a big hitbox making it solid at catching the options of grounded opponents. The hitstop effect of gamma does also make it easier to line up combos for both your teammates and your own as well as keep the target in place longer. You can cancel gamma at any point after hitting an opponent with a beta. If you just tap the button you will only get the dash part of gamma if you either tap then re-press or hold the gamma button before the dash ends you will transition to the flip and shockwave.
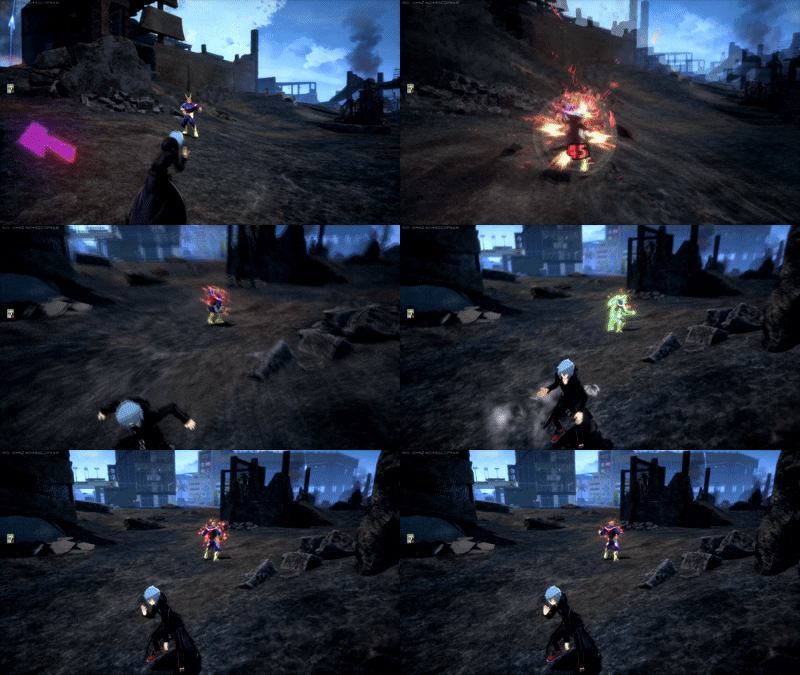
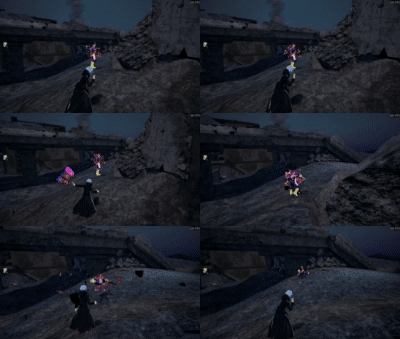
Both the gamma's dash and the shockwave's movement are momentum based, however this matters more for the dash. If you start a normal dash jump and gamma directly at the start you will go further than if you were standing still or just running. Using the gamma's dash mid-air after using another or after using his Special Action will result in Shigaraki not going very far compared to running or dash-jumping like mentioned earlier. The gamma dash always has inertia at the end of it allowing Shigaraki to glide forward a bit after it ends. This helps his overall survivability and movement. However it can hinder combos due to how far he will slide sometimes at the end. A good way to not slide as far during combos is to throw a beta as soon as you can after hitting an opponent.
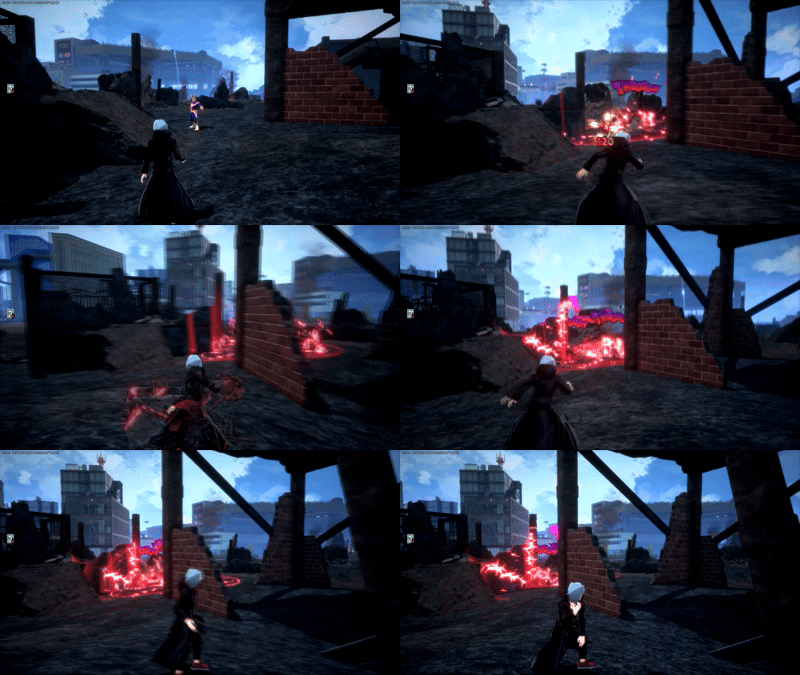
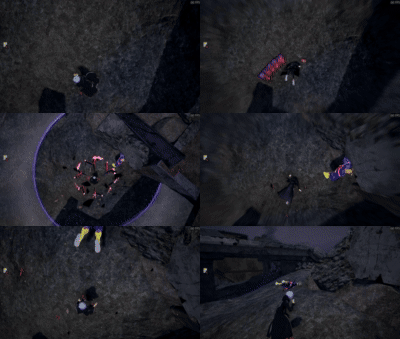
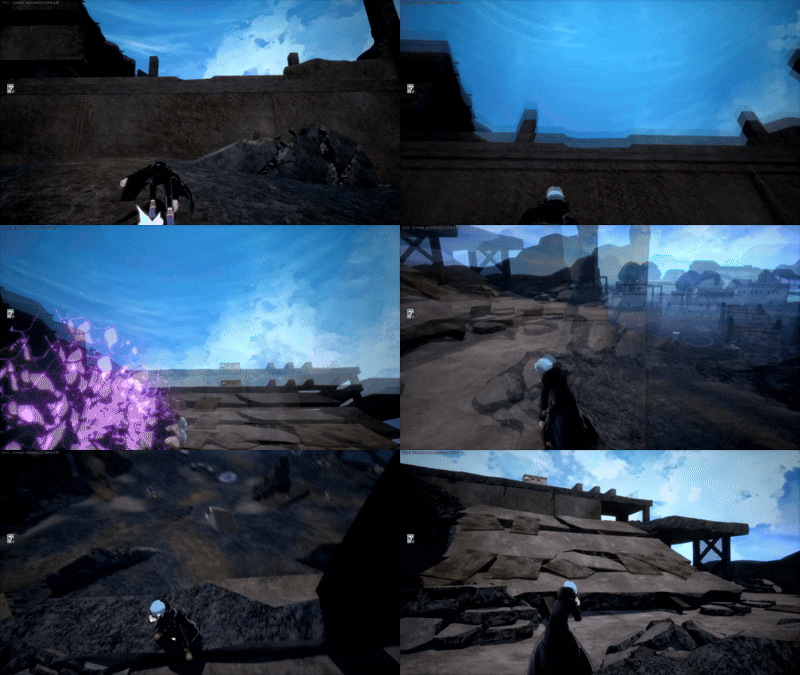
The shockwave's hitbox will only hit opponents on the same elevation as Assault Shigaraki. This does unfortunately mean it can easily be jumped over or miss an opponent who's on a slope slightly above or below Shigaraki. It can also be inconsistent at hitting the shockwave after dragging someone down with the flip. It's also really good for hitting through walls if you know someone is sitting on the other side of it, similar to using beta's spread to hit through walls, except this can toss someone around. Looking upwards makes Shigaraki fall slower while giving extra height on the flip during the transition to the shockwave. Looking downwards makes Shigaraki fall faster while getting less height from the flip during the transition to the shockwave. The high downpower of the shockwave does tend to force it to be a just a combo finisher but it can still work as a combo starter sometimes. The shockwave sends in the direction Shigaraki is facing making it very easy to follow up on if you hit the gamma dash into shockwave or the opponent is behind where you land causing it to send them to you. However due to how aggressive the tracking on the flip can be sometimes that will cause his gamma shockwave to send in a direction than he is facing. This gif shows roughly about how high his gamma reaches.
Special Action - Collapse Hand
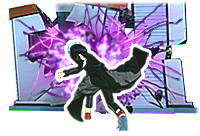
An ability that applies a -20% Defense debuff while doing 80 damage to the opponent. This is a really good option for calling out wake-ups since it has pretty similar tracking to melee 3 but can be used both on the ground and in the air. The defense debuff is extremely good for scaring someone into leaving you alone, making his combos even scarier or working with your team to just annihilate the debuffed target. Jump Special Action is a great option for calling out someone who's going to jump and press an escape tool on wake-up as well if you know they'll go for that since it can start a combo on an opponent who still has GP. The air version reliably allows for follow ups such as air melee, beta, gamma, a second collapse hand or a melee 1 if the opponent is grounded. If the air version is not tracking a target it will usually go the direction your camera is looking at.
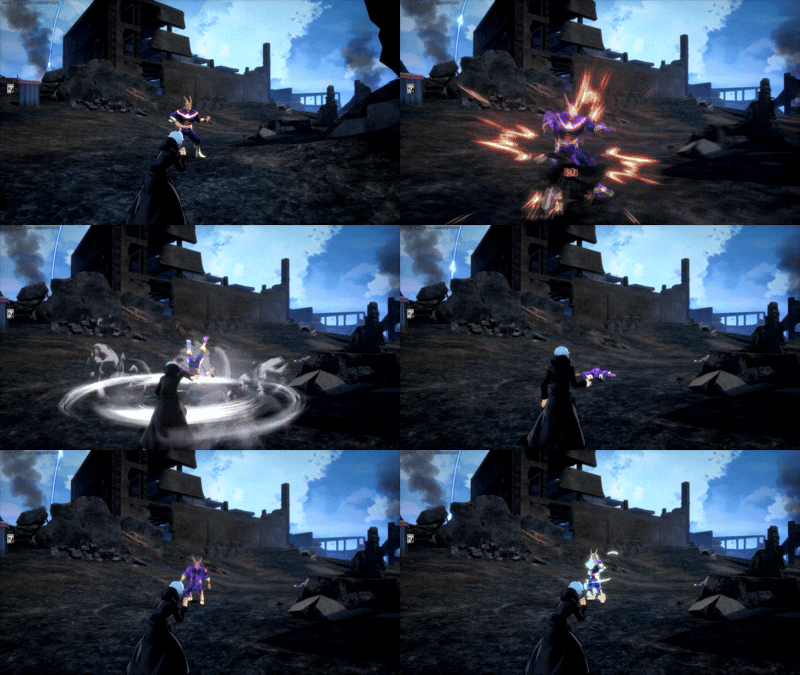
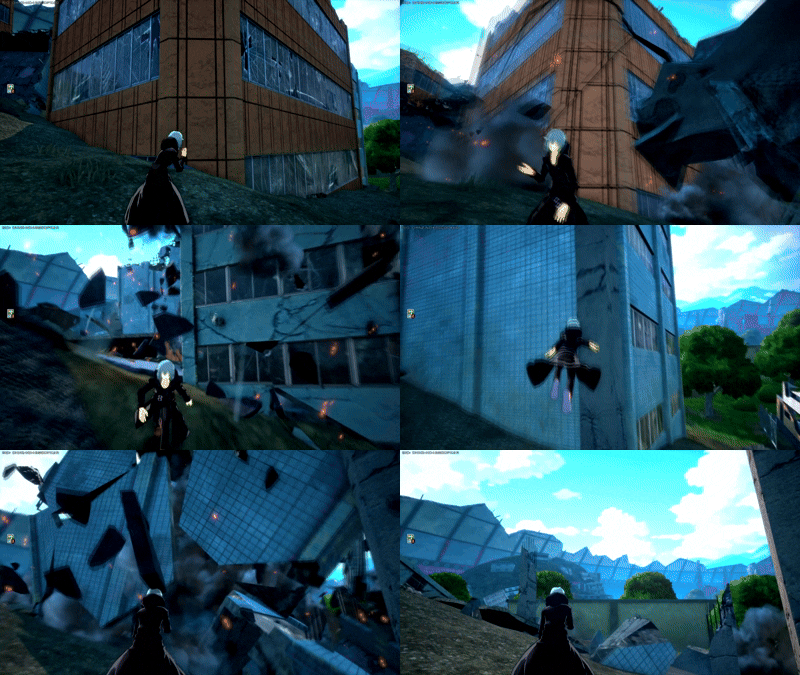
Touching a construct with it will immediately destroy them in one hit, which can be useful when dealing with Cementoss's pillars and other obstacles, including natural-generating ones like the buildings in USJ's collapse zone. It can also be used twice in a quick succession while midair for extra mobility.
Basic Attacks
Ground Melee
A 3-string combo chain. It's a good option for calling out wake-ups and to just start getting damage up close without using a skill since it does 120 damage. The lunge of melee 3 also has really good tracking so you can just abuse that against someone in close range trying to dodge roll spam if they're close enough.
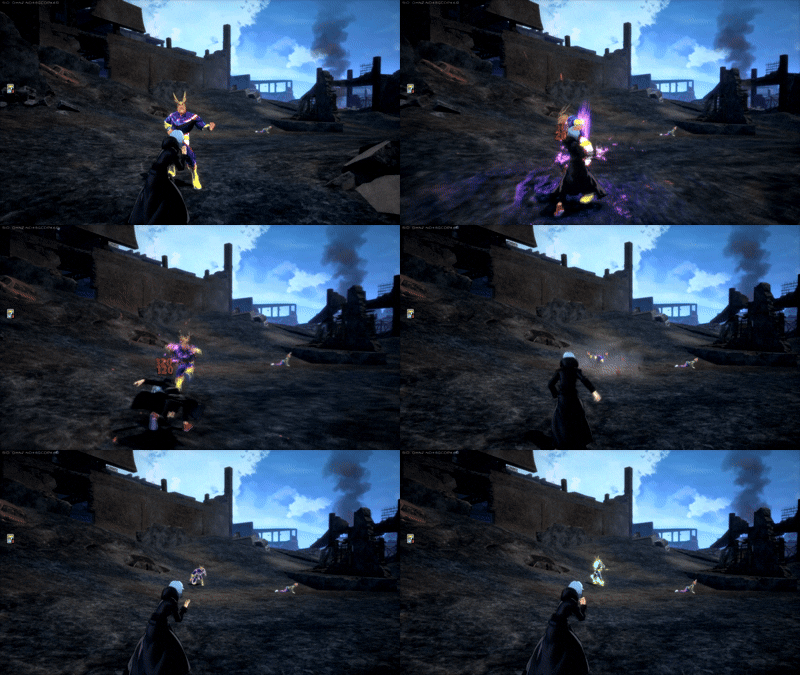
Air Melee
Shigaraki's air melee is an okay aerial callout option, but is pretty much outclassed and overshadowed by air Special Action due to that having better tracking, doing more damage, having less downpower, lowering the targets defense and attack, and sometimes being a better combo starter if the opponent high enough in the air or on GP while grounded. It's solid for starting ground combos if they're on shield or you landed it close enough to the ground while they're on HP to follow up with melee 1.
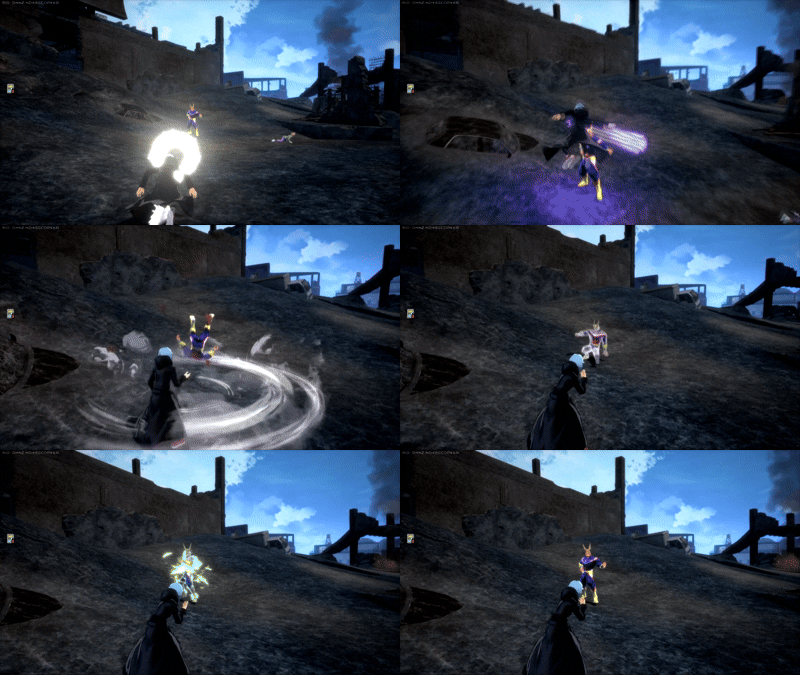

Leveling Paths
Balanced Path
A good path if you're using alpha, beta and gamma a lot and want more uptime on all of them. You can get whatever you want to level 4 first as preference.
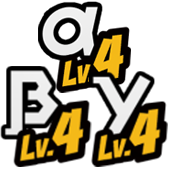



I Like Throwing Bricks Path
You just like throwing bricks at people and want more uptime on bricks to throw.



Alpha Path
A Path that focuses on alpha damage while having a good combo starter and high reload speed with Beta level 4. High level alpha means more uptime on it since it has an extremely quick reload speed. With good cooldown management you will never run out of alphas.
Combo Path
The combo-oriented path, for those who really focus on his combos while also not neglecting the alpha.
Combos
The different ways you can combine and chain various skills for higher damage within 500 DP (Downpower). The downpower of Catastrophe's abilities are as follows:
Alpha Skill: 100 DP (Debris), 75 DP (Collapse Spread)
Beta Skill: 250 DP (Debris), 10 DP (Collapse Pulses)
Gamma Skill: 125 DP (Dash), 250 DP (Shockwave)
Ground Melee 1-2-3: 100 DP (Ground Melee 1 & 2), 200 DP (Ground Melee 3), 400 DP (Whole Chain)
Air Melee: 250 DP
Special Action: 200 DP
The text of the combos below will be colored by how true they are, in this case, we will define as "True" combos that, without 3rd party or tuning interference, can only be escaped/interrupted by Overhaul and/or Mirio, as those are special cases.
White Text means that part of the combo is True on both GP and HP.
Green Text means that part of the combo is True if the target is on HP only or the hit guardbreaks.
Blue Text means that part of the combo is True if the target is on GP only.
Red Text means that part of the combo is Untrue, and therefore the enemy can escape it.
The DMG of the following combos at max level and accounting for the character's strike role is classified under the following tags:
Basic DMG (100-149 DMG), Basic+ DMG (150-199)
Light DMG (200-249 DMG), Light+ DMG (250-299)
Medium DMG (300-349 DMG), Medium+ DMG (350-399)
High DMG (400-449 DMG), High+ DMG (450-499)
Heavy DMG (500-549 DMG), Heavy+ DMG (550-599)
Deadly DMG (600-649 DMG), Deadly+ DMG (650-699)
Combos Notice
A good number of the Gamma (Dash) > Beta (Debris) combos on paper should actually be able to be reversed in the order that you hit the gamma and beta to start with beta instead but due to the downpower bug of beta they usually combo max before you can do any follow up aside from Gamma (Shockwave). This is the only reason stuff like Beta (Debris) > Gamma (Dash) > Alpha is being excluded from the guide.
Melee 1 -> Gamma (Dash) -> Beta (Debris) -> Alpha (Debris)
This would work with spread for slightly more damage if it wasn't for beta being buggy and adding 350 down power randomly instead of the proper 250 down power.
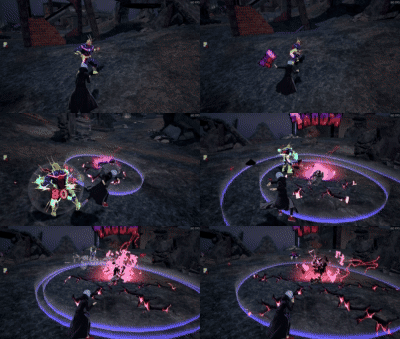

Requires a wall and the opponent to be on GP after the melee 3 to be consistent. Does not work if melee 1 is hit before melee 2 and 3.
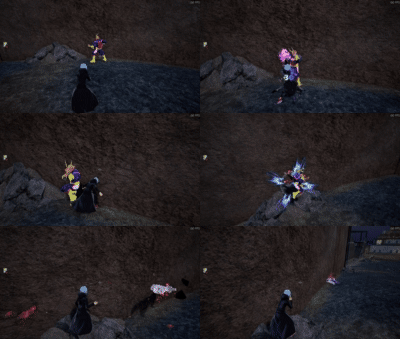
Requires GP. Debris or spread both work. Spread does slightly more damage at higher levels but tends to send randomly when knocking down the opponent while the debris will always send away.
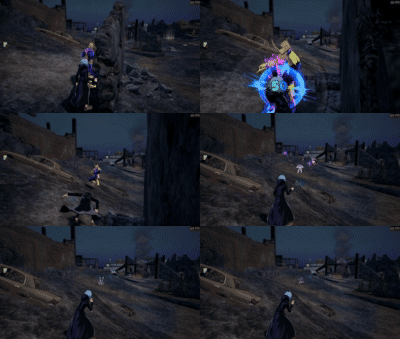
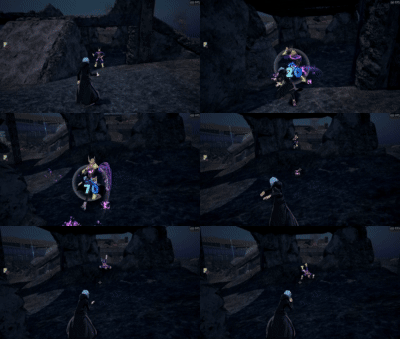

Causes hard knockdown and does okay damage while sending the opponent away from you. Pretty much the same thing as above but adds the decay status. Can do more than alpha depending on your tunings and levels.
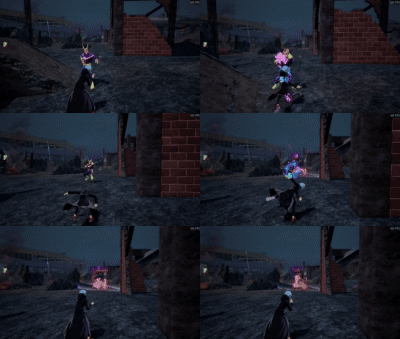
Requires a wall and the opponent to be on GP after the melee 3 to be consistent to be consistent and applies the collapse hand debuff.
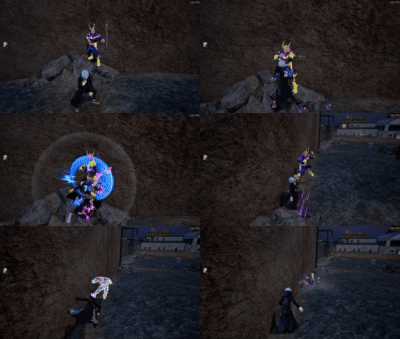
Beta (Debris) -> Gamma (Dash) -> Gamma (Shockwave)
A bread and butter combo with solid damage. Forces knockdown and also will guard break an opponent while setting up for a wake up catch.
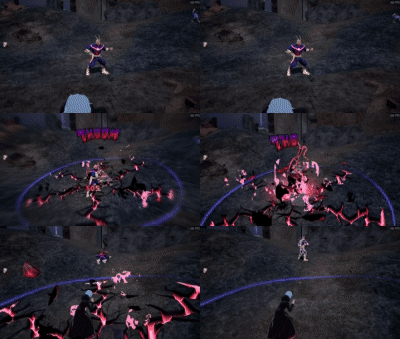
Beta (Debris) -> Alphas
A combo for when you're not in range of a gamma follow-up, or just want to do quick damage to someone while easily being able to back off. If you hit the direct alpha you can hit three direct alphas. You will need to track and aim your alphas to hit more than the first alpha though. If you only the spread you can hit two alphas after a direct beta before it causes knockdown assuming both hitboxes of the spread connect. This is inconsistent though due to beta being very buggy sometimes it will just combo max earlier than it should.
Gifs below show direct alphas and spread alphas for follow ups. Damage rating is assuming only 1 beta pulse with 3 alphas debris
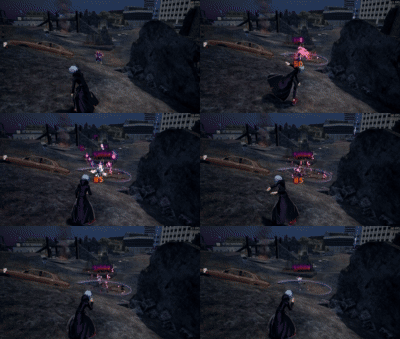
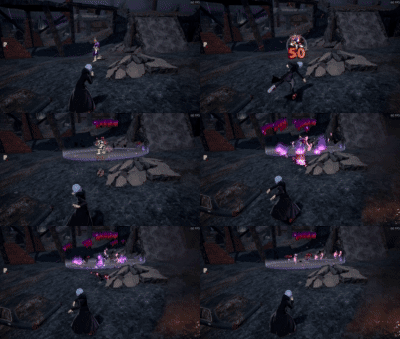

This is not true but given that it hard knocks and you have more time to follow up with this than your opponent does to get away it is something worth keeping in mind for just doing to quickly combo max from a distance while trying to escape. Damage rating assumes two beta pulses since that is the fastest you can input this, if they are airborne or get out of the pulses fast enough damage would be less.
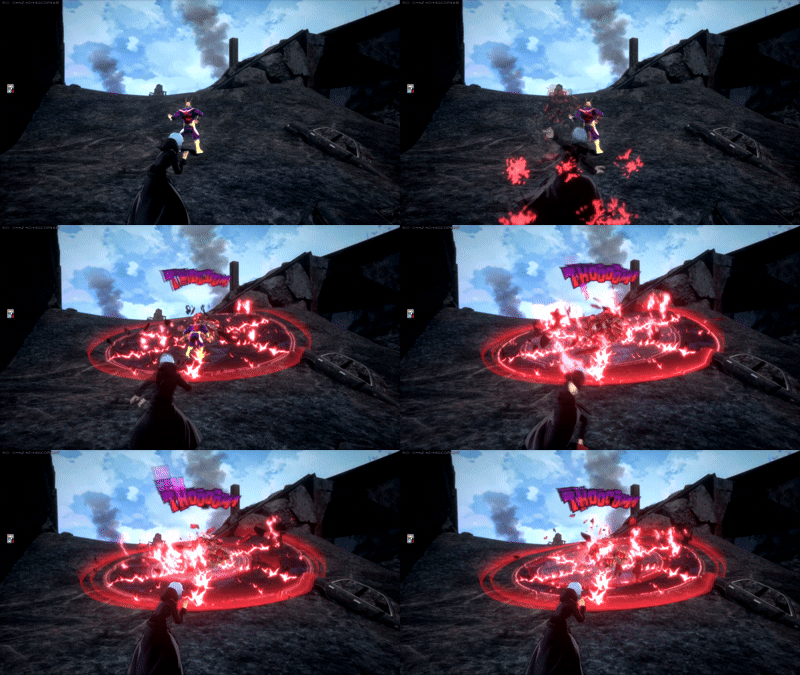
A non-true combo, but still an option you can do if you track the target properly. Mostly only used on airborne opponents when you want to hard knock them faster than hitting 3 alphas after a beta but still get more damage than just beta + beta. Damage rating assumes two beta pulses since that is the fastest you can input this, if they are airborne or get out of the pulses fast enough damage would be less.
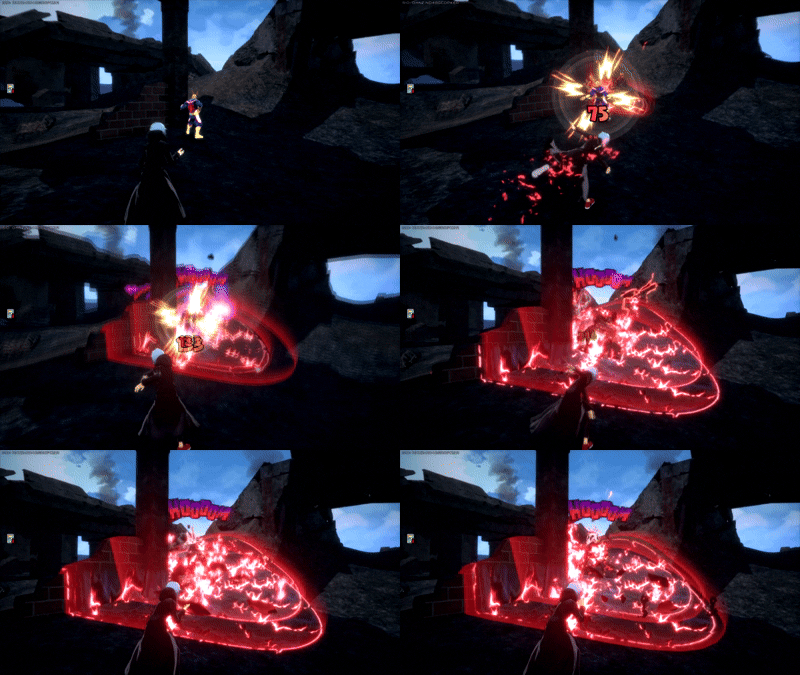
Beta (Debris) -> Special Action
You can jump and do the Special Action as well which if the opponent is mid-air using air special action lets you follow ups. This lets you get a free collapse debuff and then try to wake up catch them while they're debuffed. Grounded Special Action also works but doesn't let you get any extra damage. Damage rating assumes grounded opponent with 1 beta pulse.
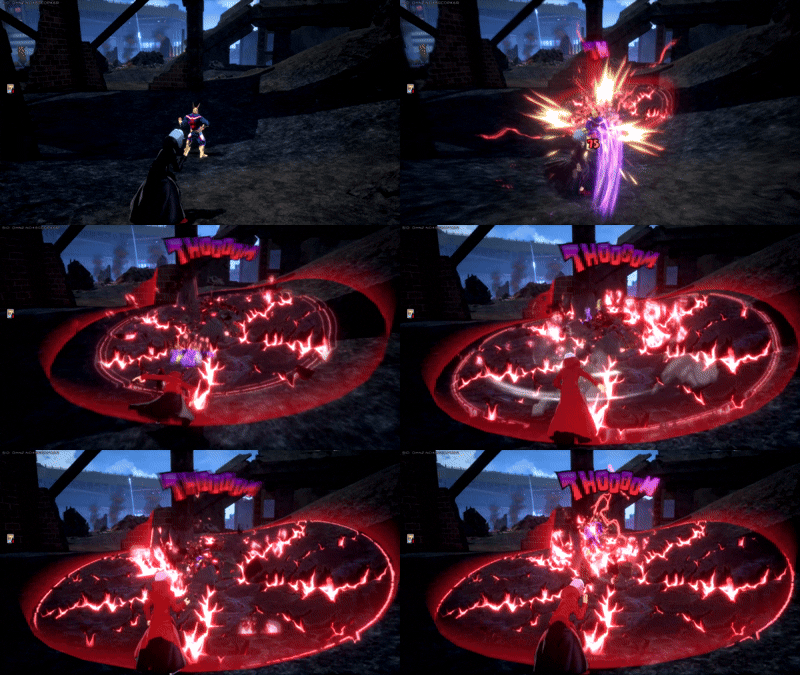
Gamma (Dash) -> Beta (Debris) -> Alpha
Basic bread and butter combo. Solid damage that doesn't use many cooldowns.
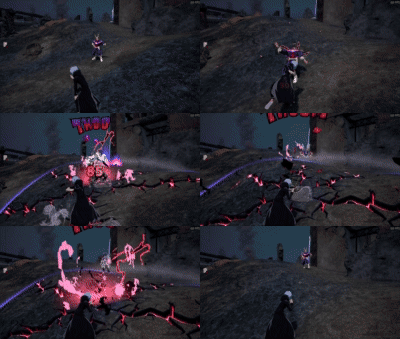
Gamma (Dash) -> Gamma (Shockwave) -> Alpha
You can hit the debris or hit the spread if you want, both work, usually only get one hitbox of the spread though. Good for when you want to save a Beta and they aren't in range to get a Special Action starter and just want damage on them before they hit the ground.
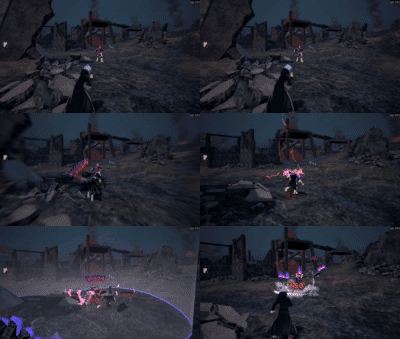
Gamma (Dash) -> Gamma (Shockwave) -> Beta
The most reliable follow up off of Gamma (Dash) -> Gamma (Shockwave) due to the size of beta making it reliably hit no matter which direction the opponent is sent if for some reason gamma's shockwave doesn't send the way Shigaraki is facing.
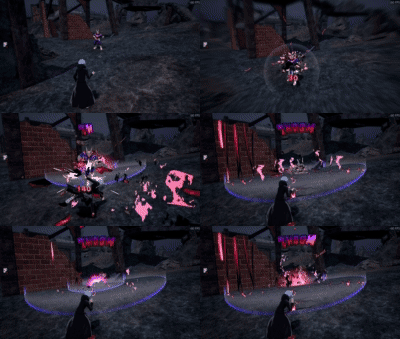
Gamma (Dash) -> Gamma (Shockwave) -> Special Action
Good for applying the debuff so you can just catch their wake-up after and kill them.
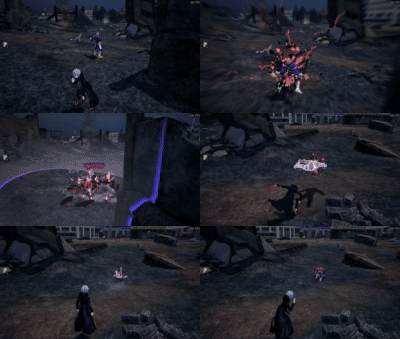
Gamma (Dash) -> Gamma (Shockwave) -> Melee 1 -> Special Action
Almost the same as above but slightly less reliable due to melee 1's shorter range requiring you to be far faster on the follow up or not to have hit anyone else which would give you more lag.
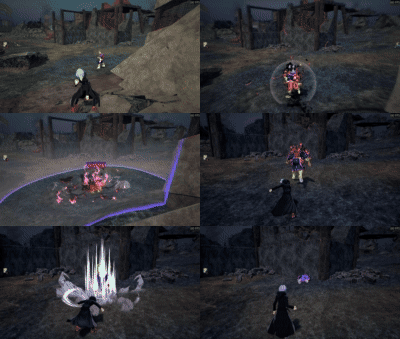
Gamma (Dash) -> Gamma (Shockwave) -> Melee 1 -> Alpha
A variation of the above combo that is uses a less expensive CD follow up but doesn't apply a debuff.
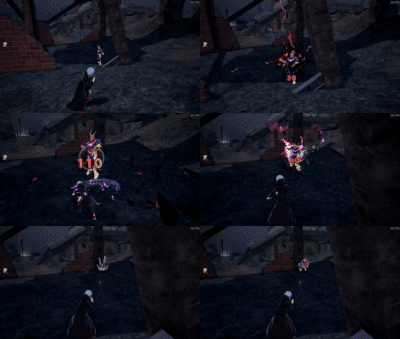
Gamma (Dash) -> Gamma (Shockwave) -> Melee 1 -> Beta
Another variation of the above combo that can do slightly more than alpha and special action depending on tunings but does not apply the defense debuff like the special action variant.
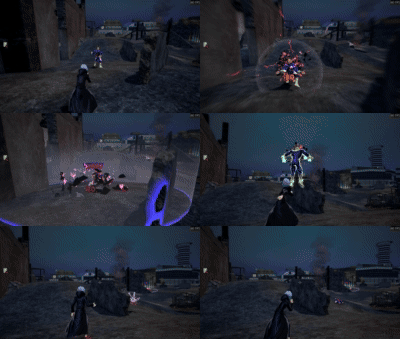
This is only doable if they're on GP or high enough in the air after the Special Action and they weren't hit with anything else before the Gamma (shockwave).
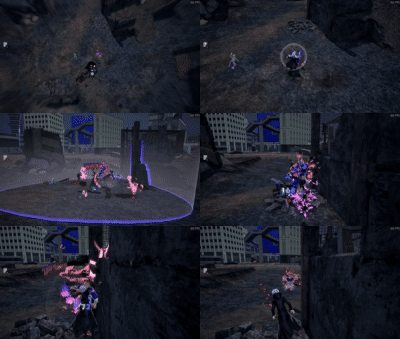
Variation of the above but more costly for slightly more damage depending on tunings.
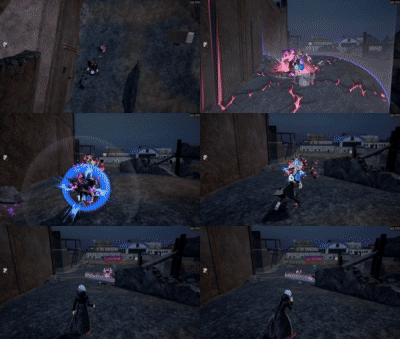
Another variation leaves you with only 1 gamma and your betas for wake up catching though.
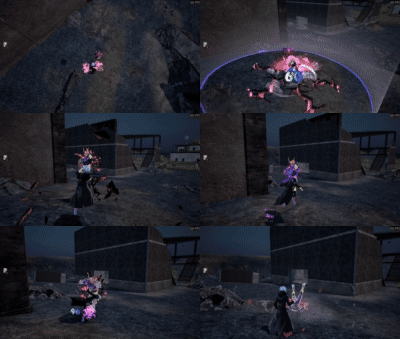
The varation of this combo that uses the least amount of CDs usually just went for instead of alpha if you're trying to proc a melee tuning.
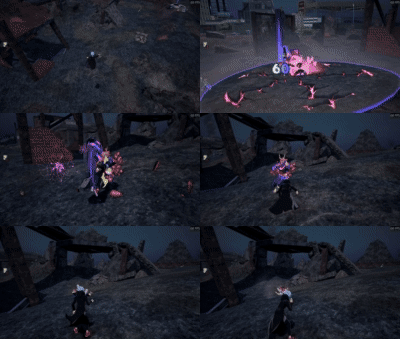
Can work on HP if they're high enough. Damage rating assumes no beta pulse since this does act very buggy so it's best to connect the alpha before the opponent lands to avoid gambling with whether they get iframes or not.
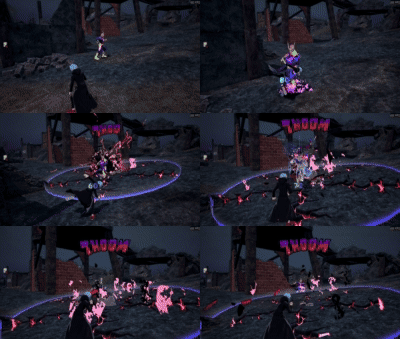
Solid Damage for minimal cooldowns can be done either on a mid-air or grounded target. Can work on HP if they're high enough.
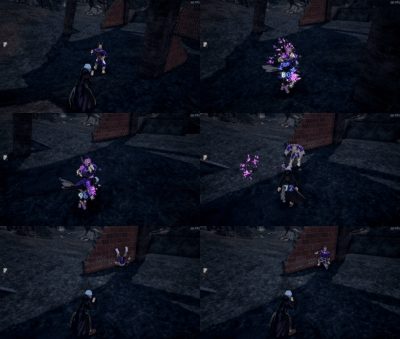
A variation of the above combo that uses two air melees instead of two special actions for a little bit less damage but allowing you to keep an extra special action also doesn't need them to be on GP for the finally hit to reliably connect. Less reliable than the above combo when done high in the air.
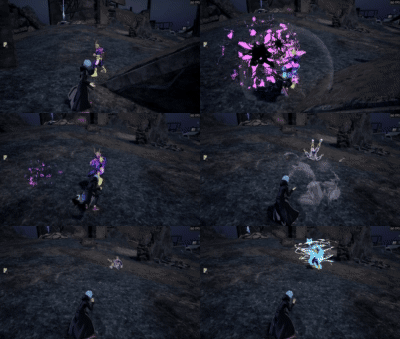
Can work on HP if they're high enough when hit but most reliable on GP. Can also do two melees before the alpha to combo max instantly instead of giving them the opportunity to swing on you or possibly get away. It is better to dash jump back when throwing your alphas to be less vulnerable.
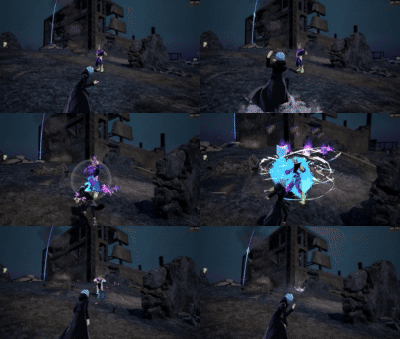
Can work on HP if they're high enough when hit but most reliable on GP.
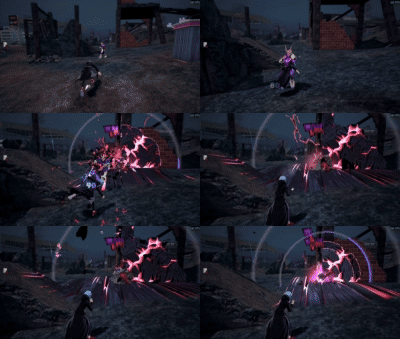
Can work on HP if they're high enough when hit but most reliable on GP. Solid follow up for a Special Action starter. Highest damage you can get off of a Special Action starter however uses both a Gamma and Special Action.
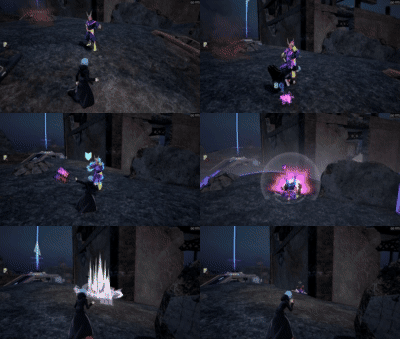
Minimal Cooldown usage while still doing respectable damage. Could end with an alpha or another Special Action instead of Melee 3.
THIS COMBO IS NOT TRUE. Part of the only reason I'm putting this here is because for some reason people think this is true and mostly just to point out that you can just start rolling as soon as Shigaraki goes to throw the beta at the floor or press an armored button or use a movement option to get away.
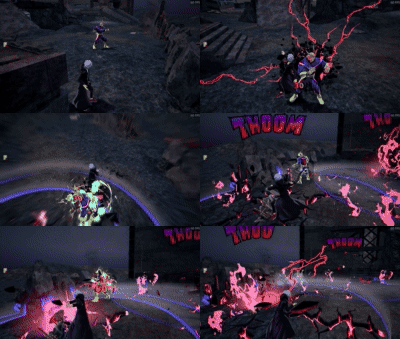
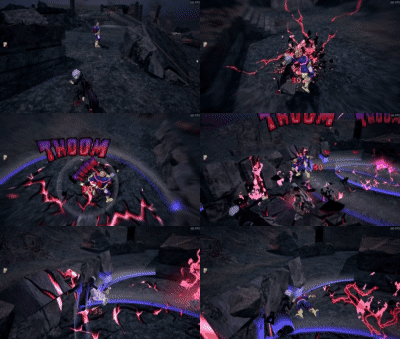

NOTICE: The showcases were removed due to being recorded in Season 14. Assault Shigaraki has had a good number of changes since then making them very outdated. No ETA on when an updated showcase will be replacing these.

Recommended Normal & Special Tunes
Normal Tunes
Strike Slots: Beta/Alpha DMG > HP DMG > Gamma DMG > GP DMG
Assault Slots: Assault Overhaul/Assault Endeavor > Assault All Might > Anything Else > Melee Defense
Rapid Slots: Rapid Bakugo/Mirko > Rapid Toga > Twice > Anything Else
Support Slots: Support Overhaul > Ibara > Kurogiri > Momo > Anything Else
Technical Slots: Tech Bakugo/Technical Kaminari > All For One > Nejire > Anything Else
Special Tunes
| The list of recommended special tunes (not ordered): |
|
|
 |
Space Hop
A decent option for Assault Shigaraki after the collapse hand change. The extra height from jumping allows him to get high enough to reach more places with collapse hand but doesn't go nearly as far as it used to. It does allow for a good angle for a beta starter or just alpha dumping a target from above. The extra jump height also pairs nicely with gamma since you get higher before using it and there isn't too much distance loss compared to most airborne gammas due to some of space hop's momentum affecting it. Do keep in mind though it does make you much more open to characters that punish you hard for being in the air so do not just jump for the sake of jumping. |
 |
Wall Runner
Another solid tuning, makes combos with your gamma less risky since you aren't just left with your special action as an escape tool, also allows you to wall jump beta someone or wall jump gamma. |
 |
Critical Permeation
The best technical special tuning. At max level it lasts long enough to drink a Large GP Drink to restore your GP, that is, provided the Guardbreaking hit didn't knock you down, in which case you could pop a Small GP Drink. If run with Wall Runner or Space Hop, you will be able to make use of these tunings without dispelling the invincibility, useful to run away or reposition. |
 |
Fixer
Pretty good on both his Awakened (Hero Style) and Cyberpunk skin as well. You can run a bunch of Alpha damage tunes for some extra alpha damage, you could also just run Beta damage tunes instead to make direct betas chunk even harder. |
 |
Crushing PU Charge
A solid options to run. You should often be getting downs with this character so getting Plus Ultra meter for getting a kill is really nice. |
 |
Card Duplication
Another solid option to help with your level scaling everytime you get kills. You can also give the extra cards to your teammates if they're struggling and you're good to go. |
 |
Revenge Technical
Also really solid, this character already gets his CDs back pretty quickly, but now combine that with an automatic Technical Card getting popped because your guard got broken. If you got guard broken you don't have to wait as long for you cooldowns. |
 |
Revenge Rapid
Pretty good for budget builds, it's a Speed Card when your guard breaks, so you can pull out the Gamma (Shockwave) combos on guard or just use the ability to wall run to leave after getting guard broken. |
 |
Revenge Assault
Another good option for budget builds, it makes you a bit tankier for a brief period of time. |
 |
Acceleration
Solid, requires you to melee more which you can use to start a combo with accel or get the melee off of a gamma, beta or special action. Gamma 2 > melee 1, Beta > melee 1 or Special Action > melee 1 would be a good way to set it up while still letting you get follow ups. Catching a wake up with his melee is also another solid way to get acceleration. Acceleration allows Shigaraki to have less endlag on all of his moves as well as move around a lot faster in general and even moreso with dash jumping. |
 |
Quirk Factor Release
Extremely good for Assault Shig. There is no reason not to spam your cooldowns with double the recharge rate. Alpha never runs out while this is active. Given how Assault Shigaraki easily gets a guard break once he gets his hands on someone this isn't hard to activate at all. |
 |
Extra Wind
Plus Ultra Merchant when paired with Card Dupe. You get 9% meter per level. It does stunt your scaling for a bit given it has a 30 second cooldown but you get Plus Ultra very consistently. |
 |
Symbol of Peace
56% Plus ultra at level 10 and 60% at level 11. This tuning means you will almost always get plus ultra if you just survive long enough or if a teammate dies before you. It also gives you the meter on revive making it nice for possibly getting plus ultra after a revive. |
 |
Area Reduction
Cuts the storm damage in half for it's entire duration. Assault Shigaraki can easily use this to go into storm to chase, loot or pop a team heal. If anyone comes to challenge him for that while not having this tuning they have to worry about storm damage and decay DoT at the same time. |
 |
Bunny Hop
A great tuning for being hard to catch on wake up, lets you instantly get distance and air time after being knocked down letting you thrown projectiles from above or get a headstart on your opponent when trying to run away. |
Recommended Builds and Costumes
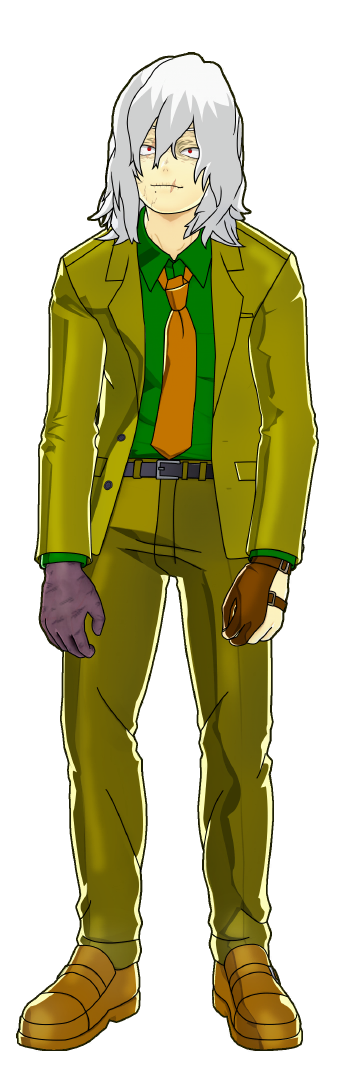
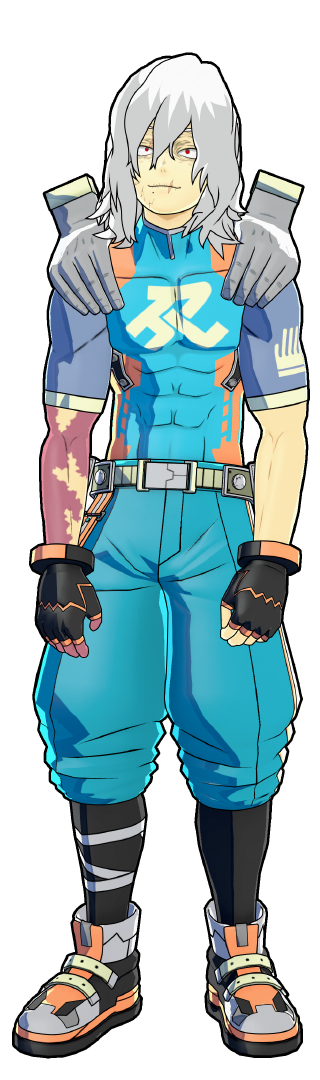
League of Villains Suit (Combat)
Lets you run Card Duplication/Wall Runner/Acceleration/Bunny Hop + Space Hop/Symbol of Peace for special tunings.
You get some extra damage and health from the normal tuning slots so it's good for improving survivability.
Awakened (Heat)
The "I want more damage on everything" skin with Wall Runner/Bunny Hop/Card Duplication/Acceleration for
either more mobility, stronger wake up options, more scaling or more speed. Crushing PU Charge, Willpower,
Area Reduction, Extra Wind and Ability Manifest are all good for the strike special slot. Best non-fixer
damage skin.
Awakened (Hero Style)
A good skin for Fixer or Critical Permeation, if you go for Fixer you just stack alphas damage tunes for
higher alpha damage output. You could also go for Beta damage tunes but you have 2 beta tunes and an alpha
from Technical Kaminari compared to the 3 alphas. If you go Critical Permeation then this lets you
refresh your CDs when you get guard broken since that lasts 6.5 seconds so if you're max level you'll
have all your abilities back and enough time to pop a Large GP Drink. Run Symbol of Peace or
Space Hop for the assault special tuning.
Transcend (Heat)
If you want to run a Plus Ultra Power Intensified Build and pair it with another tuning that gets you
plus more frequently this is a good skin for that. You can run PU Power Intensified + Extra
Wind/Crushing PU Charge. If you don't want to run a Plus Ultra Power Intensified Build you can still run
whatever double Strike you want for special tunings but other skins usually give you better mileage with
one red + a different slot color. The normal tuning slots are decent for increasing your damage.
Transcend (Combat)
Shigaraki's best skin for fixer since it has a max level fixer slot. With the tuning layout you can get Assault
Overhaul, Tech Denki, Present Mic, Tech AFO, Support Overhaul in the fixer column. You can also put Ibara, Strike Endeavor,
Support Nejire, Assault Endeavor and Strike Dabi or Nagant in the other column for maximum damage and health increase overall.
This build gives up to 20 extra HP, 3 extra GP and the highest damage output in general out of all of Shigaraki's skins.
The rapid special slot lets you pair this with Wall Runner for more survivability and mobility, Acceleration for extra speed, less lag
and more distance on the gamma dash, Bunny Hop for a stronger wake up option or Card Duplication for more scaling. Currently this is his best
fixer skin for an overall damage increase however future releases can possibly make other skins better than this one.
Transcend (Dangerous)
Another good fixer skin for Shigaraki. The damage increase tunings are very similar to Transcend (Combat).
Transcend (Dangerous)
Another good fixer skin for Shigaraki. The damage increase tunings are very similar to Transcend (Combat).
Transcend (Hero Style)
Quirk Factor Release + Critical Permeation/High Speed Replenishment/Revenge Tech. The normal tuning slots are
kind of meh, you don't get too much extra damage off of it. You can get 11 extra HP though this skin is
only good for the Quirk Factor Release slot if you don't have a better skin for it.
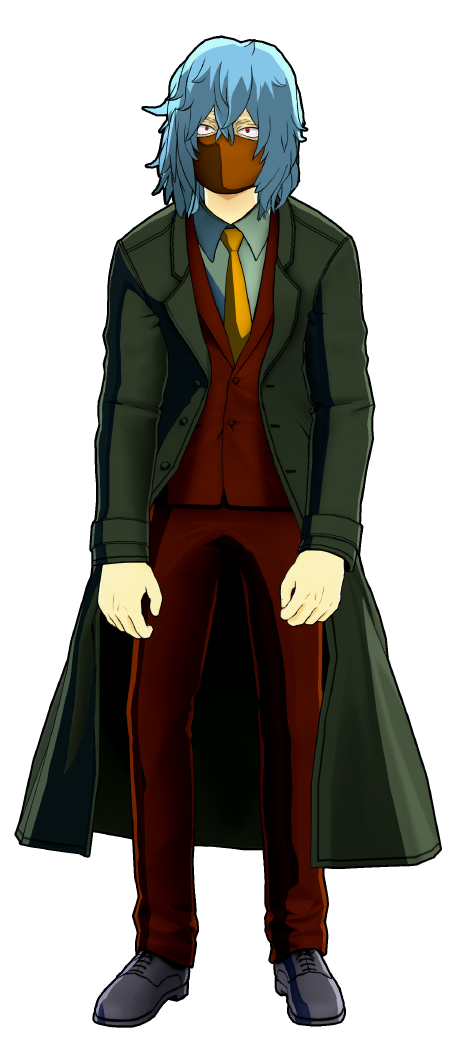
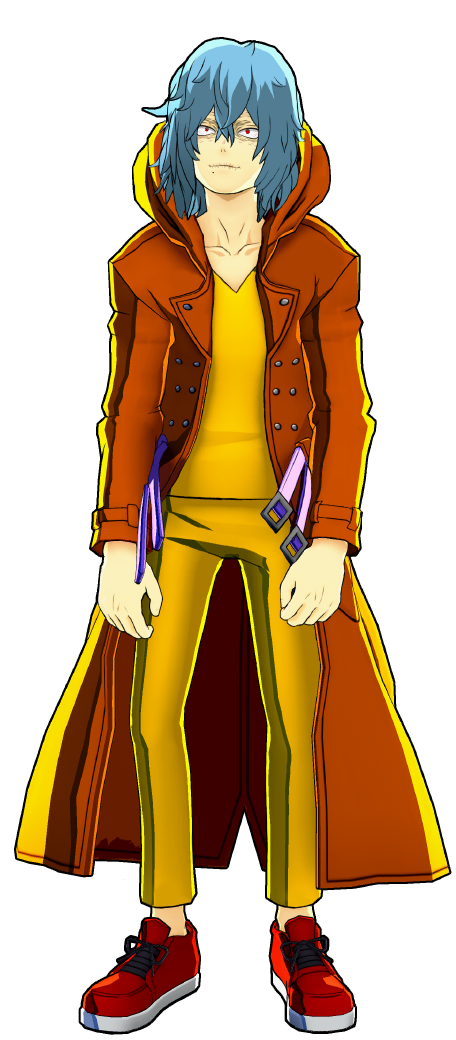
Disguise: Long Coat (Combat)
You can equip Crushing PU Charge/Willpower/Area Reduction/Ability Manifest + Revenge Support/Divine Protection. This
skin has good normal slots for extra damage buffs.
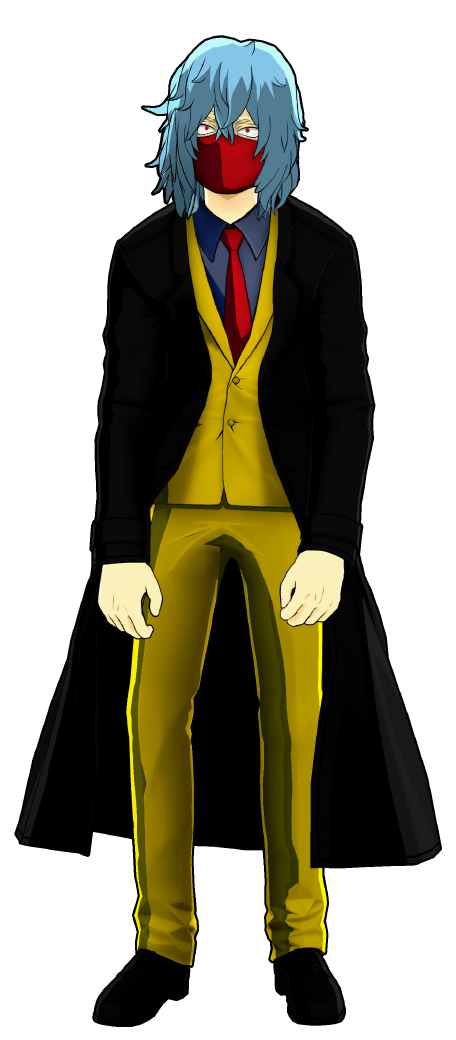
Disguise: Long Coat (Dangerous)
Another good skin for Quirk Factor Release/Space Hop/Symbol of Peace + Wall Runner/Card Duplication/Acceleration/Bunny Hop, but doesn't get you as much
damage as League of Villain Suit (Combat).
Cyberpunk (Default)
Good for Critical Permeation + Revenge Technical, no matter your level you will have your CDs back fully
after a guard break and time to heal your GP or reposition.
Cyberpunk (Hero Style)
This is another Quirk Factor Release/Space Hop/Symbol of Peace + Wall Runner/Card Duplication/Acceleration/Bunny Hop skin. This is his best skin for assault + rapid special tunings if you want max duration on the rapid slot while also having solid normal slots.
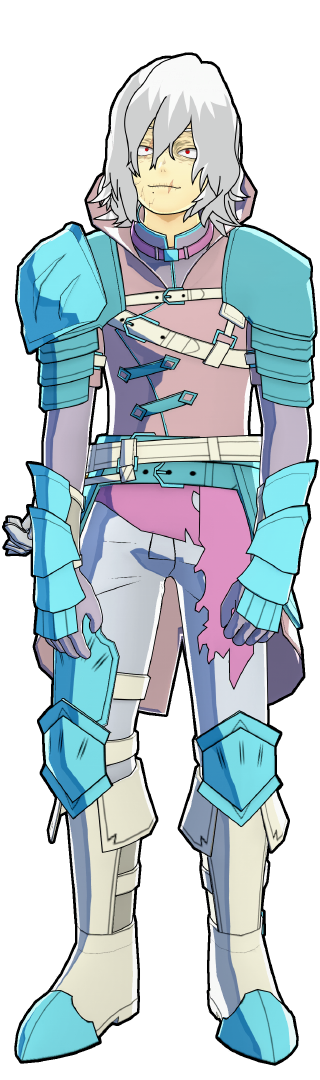
Evil Knight (Fancy)
Solid for damage. You should run Revenge Support/Divine Protection + Crushing PU Charge/Willpower/Ability
Manifest/Area Reduction for the special slots.
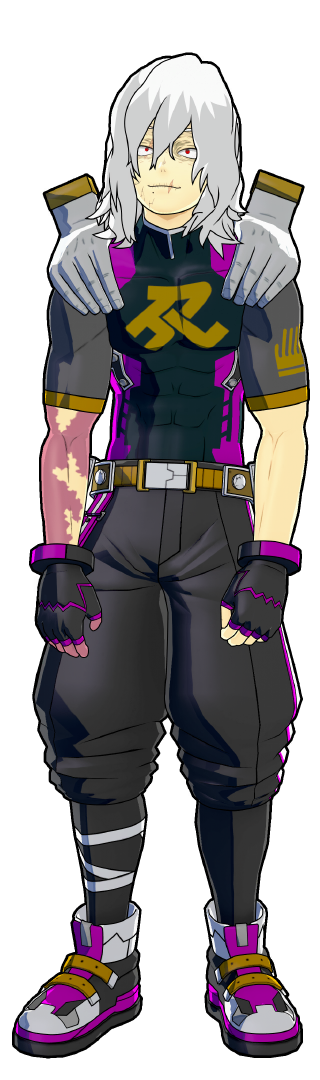
Villain Costume (Heat)
A budget skin that lets you slot your damage tunings of choice (beta or alpha) and two HP damage tunings for
more damage on guard breaks. Support tunings like Overhaul and Ibara's to increase your HP. AFO and
Denki in the technical slots. Assault Endeavor in the assault slot for extra damage on GP, and Rapid
Bakugo in the rapid slot for extra gamma damage. For special tunings, you get Revenge Rapid and Revenge
Technical, making it easier to run or not be as vulnerable after a combo without CDs. PU Turbo can also
be solid in the rapid slot if you want extra PU charge and temporary wall run on down but typically
you'll get more mileage out of Revenge Rapid.
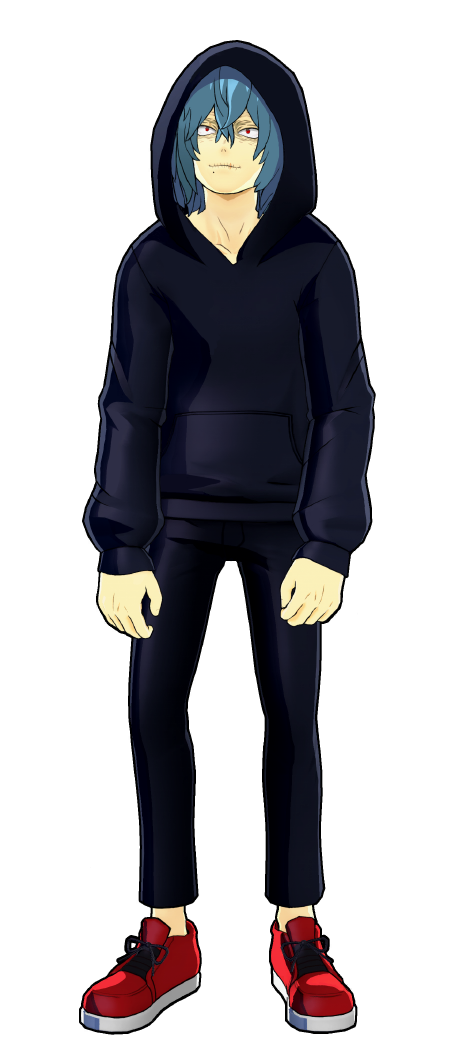
In Plain Sight (Default)
Another budget build. For the strike slots you can get 2 HP damage, 2 Alpha or Beta damage tunes, Technical
Denki and AFO for the technical slots, Overhaul for the green slot for extra damage on gamma and more
HP. Assault Endeavor in the assault slot for more GP damage. Rapid Bakugo in the rapid slot and then
your choice between Rapid toga and Twice for the villain rapid slot. For special tunes, you can run
Revenge Support/Compression Magic/Divine Protection for the green slot. Revenge Support works for more
aggro playstyles since it keeps you up a little longer, Compression Magic can be used if you're
typically just sitting back throwing alphas from high ground/far away letting you just heal your team
more often, and Divine Protection if you just want to fight for box off rip. You can also run Ability
Manifest if you want a few extra seconds on the cards you use, Crushing PU Charge can be solid for
sometimes getting just enough charge to not die at 99% PU meter. Willpower could work as well sometimes,
you just need to be careful about not getting your 1 HP wake-up called out.

Izuku Midoriya (Default) 
Difficulty Score: 🟡Even🟡
Assault Deku outranges you, if he's on high ground you really just want to break his line of sight or toss a beta up at where he is to at least get some damage on him if he's close enough to the wall for it to hit, just to maybe force him to move back a bit, making it easier for him to not know where you went. On the same elevation if he gets close or you can close the distance, You can at least use your combos if he's in range of them as well as your alpha to chunk him down. If he tries to run with blackwhip out of wake-up, then a melee, Special Action, gamma or beta (debris) are great for calling that out and burning the blackwhip resource. His beta is armored so that is something to keep in mind since the armor makes it harder to get a combo going.
Izuku Midoriya (Full Bullet) 
Difficulty Score: 🔴Unfavorable🔴
His Alpha hurts a lot in close range so avoid being close to him as much as possible. If they try to gamma jump away after a knock down, then trying to catch it with your wake up callout options is a good option but he can just put the gamma on you, preventing this. If he goes for a beta, whiffs, and doesn't immediately use another beta to cancel the lag this is your best window to either combo him or try and create some distance. His alpha knocking in two can easily stuff out your attempts to escape.
Izuku Midoriya OFA 
Difficulty Score: 🔴🔴Very Unfavorable🔴🔴
This character has armor on melee, this character has armor on lock-on gamma, this character has armor on uncharged beta, this character has armor on alpha. The only chance you have to combo this character is when he isn't pressing a button, otherwise just stay away from him if you can.
Katsuki Bakugo (Default) 
Difficulty Score: 🟡Even🟡
Similar to Assault Deku's match-up with less range but higher burst damage and no armor to worry about. If you get close to him you have to worry about howitzer, but as long as you're just far back enough you can react to its start up with a beta stun or gamma and then try and put him in knockdown to wake up catch him for it.
Katsugi Bakugo (Machine Gun) 
Difficulty Score: 🔴🔴Very Unfavorable🔴🔴
It's a rapid, you either catch them lacking on the ground and keep them in wake up scenarios until they die or just do an air combo if he's actually in range. Gamma's shockwave is decently nice against this character if they do beta close enough to the ground, as long as it doesn't hit you. It also stops their gamma before it reaches the ground.
Katsugi Bakugo (Cluster) 
Difficulty Score: 🔴Unfavorable🔴
He has a high damage alpha and a beta that can stuff out any approaches you do with howitzer to chunk you if you do get close. His low cooldown count means that he is very vulnerable if he uses them all and that he will eventually touch the ground. Mostly just keep your distance if you can since you outrange him or go inside where he can't sit in the air.
Ochaco Uraraka (Default) 
Difficulty Score: 🔴🔴Very Unfavorable🔴🔴
A rapid, either you air combo them or catch them lacking on the ground. This character does have a decent way to stop Assault Shigaraki in close range with the car spin so you don't want to be too close if they're on the ground since that easily stuffs out your gamma. Most of the time she's sitting too high in the air to reliably air combo so you're mostly just throwing 2 betas at her to try and get her to back off.
Ochaco Uraraka (Zero Satellites) 
Difficulty Score: 🟡Even🟡
Most of her moves are slow and reactable, the only move that's really going to reliably hit you is her beta, if she tries to gamma you roll that and throw a beta at her then combo to kill her before she runs away. Her beta drag can also work in your favor if you get hit by it, just make sure you tech before she tries to alpha you so you can punish the endlag of it with any of your moves.
Tenya Iida 
Difficulty Score: 🔴🔴Very Unfavorable🔴🔴
Gamma makes this Match-up actually awful to deal with, you cannot run from him. You can dodge his attacks but he can just keep throwing out hitboxes without a good punish window for Assault Shigaraki most of the time. Gamma's shockwave is just how you deal with him while he's in gamma state since that at least gets you some damage. You mostly want to just wait for him to leave due to his gamma being about to burn out. If he's not in gamma state you can easily just throw a beta at him during an alpha and then combo him. Iida moves too fast with gamma up for this to be reliable due to beta not being fast enough.
Shoto Todoroki (Default) 
Difficulty Score: 🔴Unfavorable🔴
Like most beamers he outranges you. If he's on high ground you just want to try and throw a beta up to him to force him to step back a bit to break line of sight and get to where he can't see you. In mid-close range both of you are fishing for your stuns, and the Match-up can very much come down to "who stuns who first". If you're forced to run and the Shoto has good aim, he is just going to shoot your gamma escape, so be aware of that and try to not leave when you're one-shot. Trying to just gamma at him is also a risk due to the fact that he can just put out his gamma to stun you before you'd hit him or at worst trade in his favor. Since his freeze lasts longer than your stun. He can also just beta you for trying to gamma him which will hurt. A lot of the time in mid-close range you'll just be throwing alphas at him trying to wait for an opening to throw a beta at him, usually when he's doing tap gamma. If he tries to run with his gamma you can try to catch it callout with beta or just throw alphas at him since gamma, Special Action and melee will all get you frozen if you try any of those while he can just gamma again at that point to escape if he does get hit by them.
Shoto Todoroki (Ice Fang Wind Flame) 
Difficulty Score: 🔴Unfavorable🔴
You probably won't be able to combo this character reliably because of all the ice at his feet and the fire walls. Beta into Alpha is a big part of this Match-up and will mostly be how you deal with him. Special Action is really nice for getting rid of his betas that are blocking pathways or just about to explode. You can just dodge the explosion so it's not necessary to use your Special Action, but it is useful to know. Avoid enclosed spaces with him.
Tsuyu Asui 
Difficulty Score: 🟢Favorable🟢
Roll her air beta and if they "autopilot" grounded beta while you're not in range after, just throw a beta at them then combo her to death. If they don't "autopilot" a beta afterwards just wait until you see them try to beta you again or if they try to alpha you, most of Tsuyu's attacks on the ground leave her pretty vulnerable. You can also catch her with gamma if you want to call out her jump, a lot of the time it's easier to chip her with alpha to get a guard break then kill her with gamma shockwave combos.
Eijiro Kirishima (Default) 
Difficulty Score: 🟢Favorable🟢
Do not let this character get close and you're fine. Armor can make dealing with him up close hard however due to how easily Assault Shigaraki can build up downpower with one direct beta and some alphas forcing a knockdown to gain space is managable. From afar alpha will continually chunk him and you have an easier time getting to high ground and repositioning than him if he chases. This Match-up is where DoT (Damage over Time) not resetting the combo meter comes up the most, and you can use that to your advantage to make him either lose a beta while he's chasing you to high ground or lose an alpha on the ground and then reposition with your beta. Hardening just makes killing him take longer if he's chasing you. He's also pretty free to chase when he's running by throwing alphas towards him. Do not follow him into enclosed spaces.
Eijiro Kirishima (Red Drive) 
Difficulty Score: 🔴🔴Very Unfavorable🔴🔴
Hardening is more notable in this Match-up than with Assault Kirishima. If he's hardened, you can attempt try to force a knockdown on him to run and hope you can make it so he doesn't find you. Movement-wise Strike Kiri is basically just a rapid masked as a strike making outpacing him difficult. If he's not hardened, then beta and gamma can mess up your combo attempts because of shield and armor. If he's using alpha without special action to approach you this is your best window to try and start a combo by throwing a beta at him and then just combo him and try to keep the pressure up.
Denki Kaminari (Default) 
Difficulty Score: 🟡Even🟡
You are both fishing for the stun win condition. Denki has the upside of being a beamer, making it so he can shoot your escape route, but has the downside of being a short ranged beamer. His movement has very slow startup so he can struggle to chase you though. If Denki tries to run after getting knocked down, his gamma is super slow to startup so you can just call out his wake-up with melee, beta, Special Action or gamma, but sometimes it'll decide to just track you, and you can die for it if you're up close which is why throwing a beta at his gamma startup or just chasing it with a gamma is better.
Denki Kaminari (Lightning) 
Difficulty Score: 🔴Unfavorable🔴
From afar just try to break his line of sight, throwing a beta at where he's standing from afar isn't reliable if they're running Space Hop like they often do. If they're not running space hop, then throwing a beta where he's standing is one thing you can do just like against beamers sitting on high ground. Up close they're mostly just going to throw betas and mash alphas at you. If they whiff the betas that is your window to punish them. Your alpha is also great for getting rid of his beta traps. Tech Denki has a fast fire rate on his alpha so he can stun you pretty easily, but if you just mostly try to stay out of its range since lock-on is pretty slow you can chip him down while dodging the alphas. If he gets close enough and you manage to get a beta or gamma just try to knock him down then keep him in wake up pressure as much as you can. If he gets knocked down, Tech Denki's wake-up options aren't the greatest, but beta is a good get off of me wake-up tool he has and gamma can still stun you letting him runaway, mostly just try to call out what you think he'll do on wake-up.
Momo Yaoyorozu 
Difficulty Score: 🟢🟢Very Favorable🟢🟢
Throw alphas from afar, she can't do anything to you. Don't get close, as she easily shuts you down with alpha up close. Landing betas from afar is also good for getting free alphas on her. If she betas to approach you, alpha usually hits under her beta shield. You can also just take advantage of the fact that she has no vertical mobility outside of possibly Wall Runner and just go up a building. Should go without saying but do not chase her into inside areas.
Tokoyami 
Difficulty Score: 🔴Unfavorable🔴
If Tokoyami gets in he very easily gets to bully Assault Shigaraki since he will just easily knock him down and catch Shigaraki's wake up with either a black anhk ground melee, a black anhk air melee or his beta. He can also approach from the air with his glide to avoid Shigaraki's Alphas, you can try and stuff him out with a gamma or beta however he can stop and put up shield at any time very much putting most of the pressure on Shigaraki while having next to none on himself.
Neito Monoma 
Difficulty Score: 🟣Unknown🟣
The difficulty of Monoma's match-up varies significantly with the quirks he possesses, as such, a good description cannot be given. However, if you find an opening to combo him then catch his wake up afterwards, go for it.
Itsuka Kendo (Default) 
Difficulty Score: 🟡Even🟡
Alpha spread goes under her shield if she isn't angling it down, and sometimes just ignores it even if she is, this interaction changes every season with no mention. Up close, Kendo just smacks Assault Shigaraki, since she has a super armored gamma. Her range is limited but she has a faster run speed than you, kiting is solid as long as you start with a lead. Mostly just use your superior mobility and don't get close to her to chip her down.
Itsuka Kendo (Twin Palm Strike) 
Difficulty Score: 🔴🔴Very Unfavorable🔴🔴
This character is very difficult to fight as Assault Shigaraki. She has a damage reduction beta that gets stronger the more you hit her. As an AoE character, your alpha and beta vary depending on distance, which lets her charge safely. Her stun alpha can shut down your approaches and stop combo starters. Her super-armored gamma lets her ignore your combos entirely, or even start her own. Strike Kendo's main weakness is range, but she can easily close the gap. She can dodge-roll her beta for endless burst movement, and her gamma combined with air melee gives her very fast mobility.
Against Assault Shigaraki, she has the advantage. He can’t reliably run away, and almost all of her tools either shut down his combos, start her own, or deal heavy damage.
Ibara Shiozaki 
Difficulty Score: 🔴Unfavorable🔴
She's really hard to get close to, and her moves letting her sit in the air makes fighting her from afar really difficult. If you can get close enough just try to attack her during the few windows she's on the ground with beta and alpha, if you get too close she will grab or beta you, both of which have armor. If there are structures you can crouch behind of, you can avoid her alpha.
Mirio Togata (Default) 
Difficulty Score: 🟢Favorable🟢
All that you have to do is dodge his charge Alpha and Beta, if a Mirio starts running straight at you they're likely going to try and melee, gamma or uncharged alpha you. Just predict their timing and dodge. If he betas you can get a free air combo. If he runs up and tries to melee then whiffs it, this is your best opportunity to just combo him in hopes he'll leave you alone afterwards. If the Mirio runs, you are not keeping up with him. If he chases you the best way to get him to go away is to just chunk him with a combo. He is very difficult to wake up catch since he has an invincible beta, an invinicble special action, a very fast gamma and tap alpha.
Mirio Togata (Sheer Counter) 
Difficulty Score: 🔴🔴Very Unfavorable🔴🔴
A terrible match-up. Mirio is pretty much invincible during alpha, and since all of Assault Shigaraki's moves are quite reactable, he can just counter you with gamma. He's most vulnerable after missing a beta, so if he misses it, you can combo him if he's in range, however it runs the risk of getting countered if you aren't fast enough with your starter or follow ups but otherwise, there's not much you can do against him except wait for him to mess up.
Tamaki Amajiki 
Difficulty Score: 🔴Unfavorable🔴
His grab alpha is really strong, it allows him to invalidate your escapes or just start a combo. His beta is tricky to roll since it tracks so hard with a big hitbox, while he's invisible any attack you use will instantly cancel it as long as you hit him, and your gamma will still track him if you're close enough so this is one way to deal with it. His gamma ignores walls and if you somehow do get away from his grabs and betas. His normal alpha is still strong but the range is on the lower end for ranged moves so mostly either try to play out of his alpha range and the only thing he can threaten you with is his gamma which if you see him charging up you can just throw stuff at him while repositioning.
Nejire Hado 
Difficulty Score: 🔴Unfavorable🔴
Air sitter, but could be worse. Most of the time she'll be in range to get pelted with direct alphas mid-air and betas, or even dragged down by gamma so just do that to wear her down. If you want to run just throw two betas at her then gamma away, she can struggle to chase you due how her movement works. Another character you just want to chip down until an air combo can just kill her.
Nejire Hado (Fairy) 
Difficulty Score: 🔴Unfavorable🔴
Air sitter but now with an alpha that in order to whiff the nejire player has to be trying to avoid aiming at you. Her fast firerate makes her damage rack up very quickly. Her gamma can give her up to an extra 80 HP however if she uses it where you can see here this is one of the best opportunities you have to get damage on her. Her beta is a great wake up call out tool for her since she can control when it goes off with no warning making reacting to it impossible forcing you to guess. If you get her in knockdown at any point you can either choose to try and keep her in wake up scenarios or attempt to run from her.
Hitoshi Shinso 
Difficulty Score: 🔴Unfavorable🔴
He has a ranged grab alpha that can stop your escape and leads into a combo that chunks you. Trying to punish any whiffed betas or gammas of his with a beta or gamma is your best way to turn to make into your favor. Mostly try to avoid getting grabbed and slowed, otherwise you will just die.
All Might (Default) 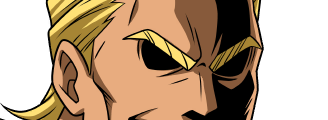
Difficulty Score: 🟡Unfavorable🟡
Keep your distance from him and upclose just watch out for his armored beta and invincible gamma if you try to start a combo. He's mostly going to be dash jump alphaing from a range so just do the same, timing your alphas for when he lands or aim the debris to hit him during his jump but be aware if he hits his shots you vastly out damages you so try to stay out of his alpha range as much as you can. If he tries to run with beta just throw yours at him and if that doesn't down him you can chase if you want or just let it be since he has better movement than you. His super jump is terrible for escaping though, good all mights will not be using this to escape until they've already created some distance but if an all might tries to use it upclose you just kill them for that with a combo.
All Might (Gatling) 
Difficulty Score: 🔴Unfavorable🔴
His alpha prevents him from getting stunned and increases how much he can take before knockdown. It also reduces the damage he takes by 10% which barely matters. If he's holding alpha just start dash jumping to throw alphas at him and try to avoid his. Sometimes it can also be easier to be near the All Might and just constantly swap between being in front of him and being behind him, this can make it hard for the All Might to consistently hit you depending on their camera sensitivity. If he tries to get close to gamma you just throw a beta at him to make him lose the CD. If he tries to beta, you just roll it. This applies to both forms of his beta. Don't get in gamma range. It can be very difficult to hit him at times though due to him being in the air most of the time after his beta buff especially with how high up goes from it now. He doesn't have the greatest wake-up options if you knock him down so you can just call out his wake-up with melee, gamma, beta or Special Action.
Armored All Might 
Difficulty Score: 🔴🔴Very Unfavorable🔴🔴
He is very difficult to pin down for Assault Shigaraki due to his insane mobility and his hover. He can safely wake up due to his hover then sit in the air and shoot Assault Shigaraki with his alpha while easily hovering out of the way the Shigaraki's options. If he is on the ground and in a position to be hit with a combo but if his drones are out your combo will become his combo causing you to lose a good amount of your health and resources. His beta grapple is also good at punishing Assault Shigaraki's wake up options and escaping him is extremely difficult.
Shota Aizawa 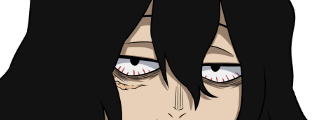
Difficulty Score: 🔴Unfavorable🔴
His special action and alpha make this match-up insufferable at times, if he grabs you, you get chunked, and his Special Action just prevents you from fighting back or running. If you can land your beta or gamma before he grabs you or negates you with Special Action, you just combo him then try to catch his wake up. If he's constantly air alphaing the best way to deal with him is trying to kite him with alphas since unlike Strike Shigaraki, your alpha will actually hit his kick off the ground. You can also hit him with a projectile while he's mid-air, use gamma's dash on him or special action him. It's best to time one of these for when he's doing his flip after he kicked off the ground since if you're fast enough he won't have time to press another alpha. From there you can either do an air combo or just go for gamma's shockwave for immediate damage which, if he's guard broken, you can just do a gamma shockwave combo. If he tries to run, your alpha hits his alpha kick so you can use that to your advantage.
Shota Aizawa (Flow Runner) 
Difficulty Score: 🟣Unknown🟣
Match up coming in season 18 at the earliest.
Present Mic 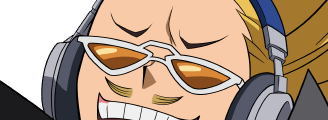
Difficulty Score: 🔴Unfavorable🔴
Present Mic outranges you, if he's on high ground toss a beta or alpha to try and force him back and if his boombox is right next to him also make him get rid of it for a second. If he's on low ground just try to keep breaking the boombox with alpha since it does reduce his DPS. Comboing him then calling out his wake up is the best way to get deal of him but be aware that he can just beta you if you mistime a combo or he can just do it out of wake up to try to pressure you. He will also beta you for getting too close and then chunk you with either alpha or gamma as a follow up.
Present Mic (DJ Board) 
Difficulty Score: 🟣Unknown🟣
Match up coming in season 18 at the earliest.
Cementoss 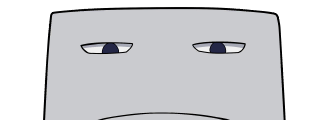
Difficulty Score: 🔴Unfavorable🔴
Dealing with Cementoss can be annoying since all his structures will block your attacks and make it harder for you to move around. If he tries to pillar shigaraki's beta is great at getting some damage on him. He can be very hard to pin down though so just try to keep your distance since it's much easier to react to what he throws at you and possibly predict him.
Endeavor (Default) 
Difficulty Score: 🔴Unfavorable🔴
His Special Action and beta makes him annoying to deal with since the former lets him float making it so you cannot gamma him without getting hit with his beta for trying. His beta is an extremely good get off of me/get back over here tool since it sends you towards him and puts you in knockback. If he's just floating with his Special Action you can try to throw a beta at him then use your own Special Action, assuming you're in range so your alpha debris shots do more damage, making it a bit easier. If he holds alpha on the ground you get to combo him for it. If he runs be aware that his beta will often be used to cut off your approach angles on him, he does slightly outpace your movement with his Special Action but not so much to the point where you can't keep up. If you try to run be mindful of that gamma since it hits through walls, if you decide to run try to have more than 200 HP so if he does call you out with gamma you at least live and can possibly still get away.
Endeavor (Inferno Fist) 
Difficulty Score: 🔴Unfavorable🔴
His beta is really strong at closing off an area since the wall hitbox can be deceptive to where rolling will sometimes still get caught, if you're in his beta he gets to alpha or gamma you for big damage. If he alpha dumps you after beta be aware that his gamma is really good at catching your wake up option, so try to get away from it while you still have your i-frames. Like Strike Endeavor, he will also be using Special Action to float a good bit. You can do the same thing with a beta stun into your own Special Action to make your alpha debris hit a bit harder. Unlike Strike Endeavor, it can be easier to do an air combo on him since he doesn't have great tools for keeping someone off of him in the air, since his gamma only explodes on impact and does have decent startup, and his beta only hits the floor so air combos can be pretty good against him if you get enough damage beforehand to actually kill him with one.
Hawks (Default) 
Difficulty Score: 🔴Unfavorable🔴
He outranges you, you cannot chase him and he will chase you to the ends of the earth. Assault Shigaraki is relying on dodging his beta and punishing him with a combo during his endlag or catching him by surprise before he notices you at all to put the match in his favor. If he is in beta flight just roll the slashes or try and knock him out of it with a direct beta, but be aware this is risky since he can just smack you. Hawks's gamma also gives him an easy time chasing you since it allows him to know your location the entire time it's active, as well as making it hard to sneak up on him if he tries to flee while you're marked. You cannot wake up catch him at all since he can just special action away to immediately create distance while having his iframes.
Hawks (Slicing Wind) 
Difficulty Score: 🔴🔴Very Unfavorable🔴🔴
This character can mostly pelt you from the air with alphas making it hard to hit him. If he's on the ground or tries to beta you and whiffs then you just try to combo him for it, however if you mistime your beta he will combo you hard. If he guard breaks you his alpha lets him just kill you for free since it staggers so keep that in mind when dealing with him. You cannot stun him during his beta while it's moving reliably due to gaining armor at level 7 so it's better to just punish him for missing. His beta is pretty reactable so as long as he's not on top of you can roll it.
Mirko 
Difficulty Score: 🟣Unknown🟣
Match up coming in season 18 at the earliest.
Stars and Stripes 
Difficulty Score: 🟢Favorable🟢
Stars and Stripes is a slow moving beamer who has a fire rate on the lower end in exchange for 100 damage alphas. Up close they will usually be looking for their gamma but as long as you stay back really the only thing she can pressure you with is her alpha and beta. If she tries to beta you from a distance and you see her using it you can throw a beta at her for it to stun her. If you get caught in her beta you can either just try to roll whatever she wants to hit you with during it or throw two betas at her to knock her down giving you some time for her beta to end. Just stay away from her and she won't be able to do much except throw alphas at you.
Mt Lady 
Difficulty Score: 🟢Favorable🟢 (Small Form)
Difficulty Score: 🔴🔴Very Unfavorable🔴🔴 (Giant Form)
Don't be too close to her, despite her alpha only doing 50 per hit it still fires twice per 1 ammo with a fast fire rate, letting her get some really solid damage really quickly in close range. However, after her nerfs, her combos aren't too threatening. The main concern in this Match-Up is her giant form. If she decides to just go big you cannot contest that and just need to try and get somewhere that she can't chase you or hit you. Fighting her in locations where she's small makes her easy to deal with. If you beta her while she isn't using her own beta, she gets combo'd for free. You both have similar movement since she has gamma jump canceling and you have gamma shockwave, so you can chase each other easily on the ground, Assault Shigaraki does have a better time moving vertically though thanks to the 2 Special Action charges.
Tomura Shigaraki (Default) 
Difficulty Score: 🟢Favorable🟢
Indoors he will win so just don't contest him indoors. He outranges you and his AoE is better than yours. Grab will also chunk your health bar so if he does land try to just back off. Since you both share a special action both of you have to be aware that the other one can use it to try and increase their damage output and start a combo on the other. If he's putting out alphas constantly just dash jump away from them and throw alphas at him or beta stun him, just be aware if he reads you with his gamma or does beta close to the ground he can get to grab you for free. This is one of the few times where using gamma to go up into the air then pelt down alphas and betas is a solid option since he can't just shoot you for it, but beware this does run the risk of getting you shot by others. If he alpha stacks where you're about to land you can use your Special Action to move away from his alpha stacks.
Tomura Shigaraki (Catastrophe) 
Difficulty Score: 🟡Even🟡
Throw alphas from afar to avoid being in combo range, let the other Assault Shigaraki approach first. If he tries to gamma at you try to roll it then beta or gamma him and combo for it or wake up catch him repeatedly. You can also throw a beta at him first to just get free alphas.
Tomura Shigaraki (Thousand-Hand Break) 
Difficulty Score: 🔴Unfavorable🔴
Throw alphas from afar to avoid being in range of his close range alpha stagger hitbox and beta jump. If he does overextend to try and alpha upclose can attempt to punish with collapse hand for a defense debuff on him to make your combos do more damage. Tech Shigaraki can easily explode Assault Shigaraki due to his high damage alpha, hard hitting beta and Collapse Hand debuff increasing his damage even further. His beta forces you to respect his wake up since trading with it hurts a lot.
All For One (Default) 
Difficulty Score: 🟡Even🟡
The matchup against his base kit is pretty even. Don't contest him indoors, be aware that beta can be used to attack you around corners. If you decide to chase him roll his gamma pull attempts and try to predict his push attempts to avoid that too. His jump height makes alphaing him a bit harder but just adjust your timing a bit and you can hit his landings pretty easily. Other quirks can drastically change how this matchup plays out.
All For One (Factor Fusion) 
Difficulty Score: 🟡Even🟡
His beta lets him threaten a big area with a possible stun that will net him free damage if you get hit by it. His alpha does let him float but due to the low air speed he has when floating you can throw your projectiles at him for it. His gamma is his hardest hitting move since it lets him hit for up to 300 damage however if you see him start it up you can throw a beta at him to stagger him out of it. Try to stay as mobile as you can to make it harder for him to threaten you with his beta and gamma.
All For One –Youth Age- 
Difficulty Score: 🔴🔴Very Unfavorable🔴🔴
He can sit in the air with an armored damage reduction gamma that also makes him harder to combo max. The only real chance you have to combo him is if he gets close enough while just shooting alphas or tossing out betas. You're mostly staying away from him and just throwing alphas from afar if you can because if he gets close his gamma entirely shuts you down from escaping due to its stun and you cannot force him off with 2 betas.
Dabi (Default) 
Difficulty Score: 🟢🟢Very Favorable🟢🟢
Alpha and beta do not care about his traps, gamma is the main thing going for him in this Match-up, and his alpha is fiction. If the Tech Dabi is sitting in traps, alpha will break them and beta just lets you stun him. Do not gamma at him or you will get hit by a trap. Just use gamma to break away or hit him through walls. Gamma's shockwave can also be an option for starting combos on him since you can use the flip to maneuver away from traps but still hit him, thoug not really recommended when you just win the ranged game for free.
Dabi (Crazy Torch) 
Difficulty Score: 🟡Even🟡
If he's betaing at you, throw your own at him. If he's alphaing, throw alphas or a beta at him. You cannot do combos that involve gamma, Special Action or melee on him while he has gamma active since his gamma will explode. He does eat away at his own health so Assault Shigaraki's DoT + his own self damage really melts his HP, so beta into alpha mash to get rid of him.
Himiko Toga (Default) 
Difficulty Score: 🟡Even🟡
She outranges you from really far away so just break the line of sight. Up close betas hurt, but they're easily dodgable, so you can just knock her out of it with a beta or gamma shockwave. Gamma's dash runs the risk of getting hit even if used from behind her. If she's betaing you can mostly just run and throw and alpha then keep doing it. If she takes your blood and transforms near you that is your window to combo her. If she's just using transformation to CD reset you can still combo her for doing it pretty easily, just be aware her transformation does have i-frames on start so she can use that to avoid a stun move. Running from her can be difficult if she has your blood since she has her movement + your movement + hers again. That also applies to chasing.
Himiko Toga (Sting Dance) 
Difficulty Score: 🔴Unfavorable🔴
If she's CD resetting it's very hard to contest her. If she turns into Assault Shigaraki she now has the potential to put DoT and debuff you as well. She's harder to punish for transforming than her tech counterpart since her gamma lets her do it automatically after putting you in knockdown, or she can just go up high reliably before transforming. Trying to bait and avoid her gamma and comboing her for it then keeping her in wake up scenariosis the best way to deal with her. Running usually isn't an option since she'll just pull you back with gamma.
Twice 
Difficulty Score: 🟢Favorable🟢
Basically the same as how you fight most beamers, he outranges you but unlike most of them, he can increase his DPS with his beta clone, but your own alpha easily kills the clone while still being able to hit him. If he's on high ground you can just try to use beta to force him to step back to break line of sight. If he's in mid-range and tries to gamma to close the gap, you can just push him back with double beta or count his gammas and try to stay out of range until he's out or at one of them, then either combo him when he's out or try and force a trade when he's at one then combo him. His gamma is good at catching wake-ups in close range but overall he's not too hard to deal with.
Mr. Compress 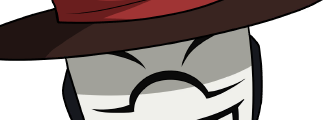
Difficulty Score: 🟡Even🟡
Compress' alpha stun is his best tool against you since if he gets it, your guard is gone and so is some HP. If he's holding up his beta you just throw alphas at his feet or gamma him if you're close enough, but be aware that he can dodge your gamma if he reacts. If you throw alpha debris or beta debris, they will be reflected at you with higher damage. His gamma is hard to stop unless you've already beta'd him, so if you knock him down there isn't much you can do to stop his escape option if he isn't immediately one shot. If he's sitting on high ground just toss a beta at the wall to force him back. He can easily chase you since his gamma goes really far. If he's just tossing trucks down after gammaing up just try to avoid as many as you can and when he lands try to chunk him for it if he doesn't immediately gamma back up.
Kurogiri 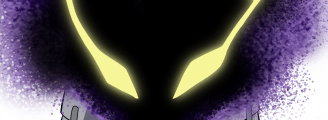
Difficulty Score: 🔴Unfavorable🔴
Kurogiri's gamma remote portal vortex can be difficult to deal with since he can just keep himself out of Assault Shigaraki's range. Gammaing up to get in range to throw his projectiles at will often get you beta pulled towards the Kurogiri player, so do not to do this. Mostly just try to predict when he's going to throw an attack at you with his portal vortex or try to immediately break line of sight and lose it. Against Kurogiri himself if you do beta in the air at all you will likely get pulled so doing it on the ground and dodge rolling after the throw is best to avoid getting punished for free. It can go either way but Kurogiri overall has the edge.
Lady Nagant 
Difficulty Score: 🔴🔴Very Unfavorable🔴🔴
Lady Nagant has more mobility, more range, a 315 damage Special Action that only takes 12 seconds to come back and a very difficult to avoid comboing beta if you're in the center of it when the warning appears. The best thing Assault Shigaraki has going for him in this matchup is that he can catch her attempts at a wake up pretty easily due to collapse hand's strong tracking and gamma's big hitboxes. Try to avoid a head-on fight with her if you can but if you must fight her then try to stay as mobile as possible to avoid getting shot.
Overhaul 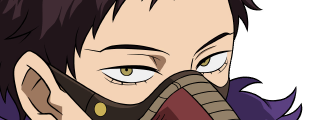
Difficulty Score: 🟢Favorable🟢
Overhaul's ability to heal himself and smack you off of him can make trying to combo him less enticing to go for. Gamma in this match-up is mostly just for manuevering and breaking off to heal if needed, or just catching a roll with gamma's shockwave while he's on HP to do a gamma shockwave combo. Gamma's dash will get you smacked off of him most of the time. Beta debris into alpha mash is mostly what you'll be using in this match-up combo wise. Try to stay at a range where his gamma is still reactable so you can easily dodge it, dash jump alphas are mostly what you're using in this. If you see him pop special action to heal himself this is where you can combo him reliably.
Overhaul (Blighted Precipice) 
Difficulty Score: 🟡Even🟡
Both of characters do a good amount of damage with their combos. If Assault Overhaul tries to gamma then you can answer it with a gamma, special action or beta to stagger him before his grab would connect. If he's alpha sliding you have to predict his movement if you want to either beta him or get damage with alphas. Upclose his beta can very easily stuff out your options so playing out of beta's threat range and even gamma's threat range will help alot in this matchup. He can heal off the damage you deal to him however due to the startup of his special action there is a window where you can hit him before it goes off, trying to predict when he'll use it if he was put in a wake up scenario can save you from having to deal with the second health bar. Assault Overhaul is also very good at catching Assault Shigaraki's wake ups just like how Assault Shigaraki is good at catching his so keep that in mind. If he does beta on wake up to jump and you stagger him that does waste his beta cooldown making him unable to escape you.